
I have been eyeballing the FZ09 for a little over a year now. I have always been a fan of the Three cylinder engine package and how it delivers power on the low end. I have ridden a four cylinder a twin cylinder and even a single cylinder street bike over the past few years and have always had a deep envy for the way the Triumph Street triple hit on the bottom end. When the FZ09 came out the package I could have hoped for came true. A Japanese built sport three cylinder it is exactly what I have been looking for in a bike for drift and freestyle.
On new years day I decided to pick one up and bring it home. It will still be about two months until it gets finished but I started to dig into it a little bit today. Starting with three 20 minute heat cycles and then stripping some bits down.
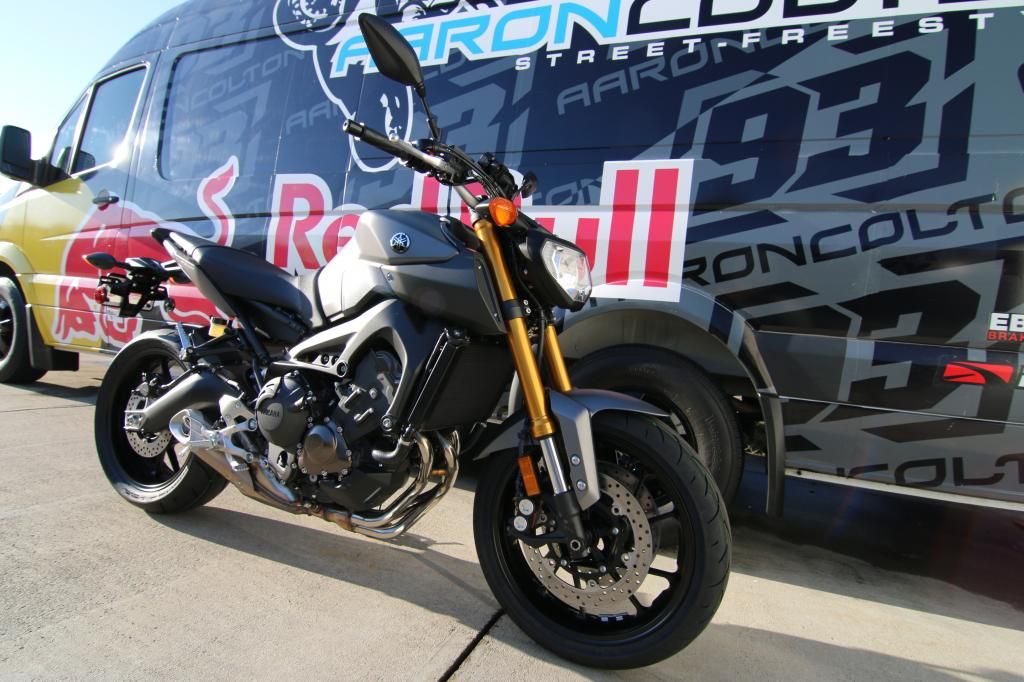
Here is the FZ09 when it hit the home front
Rolled it into the garage and popped the mirrors off first.
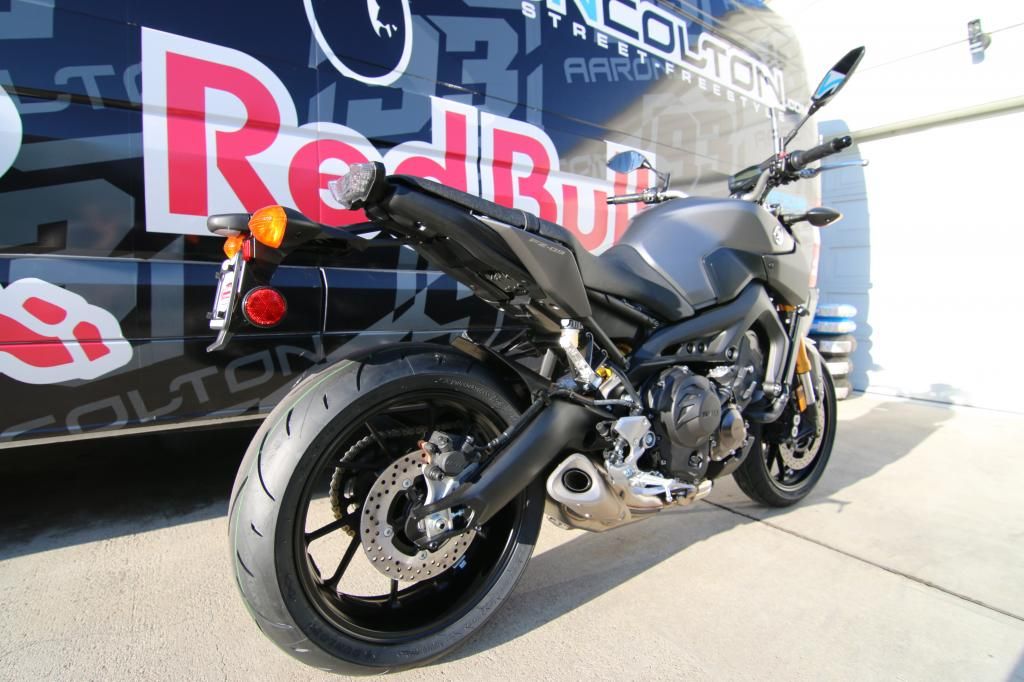
Followed it up with removing the tail light and blinkers.
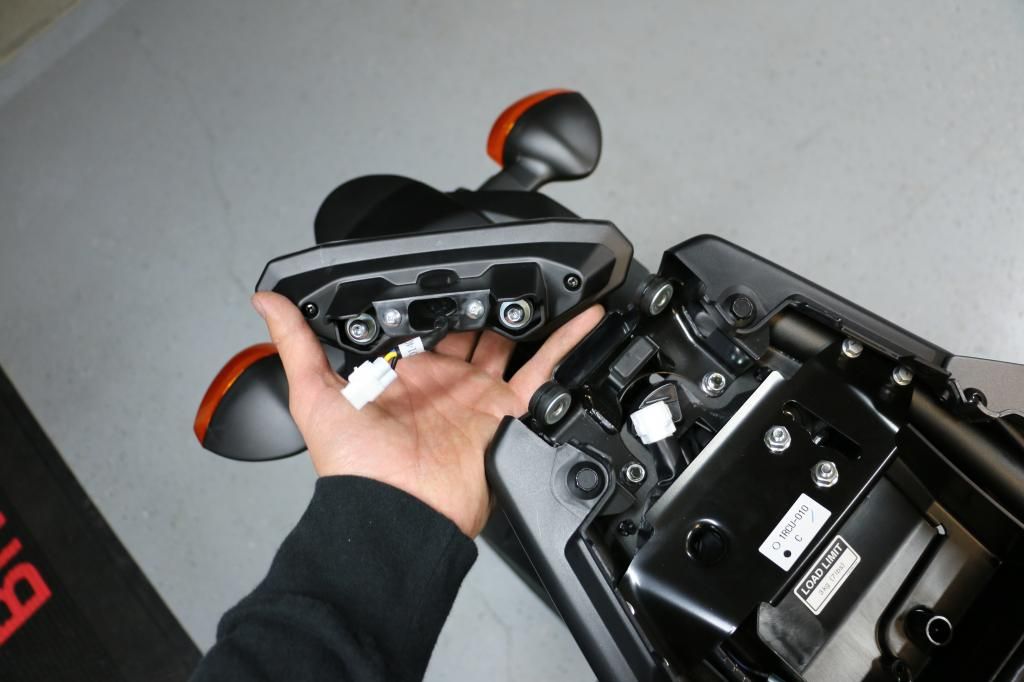
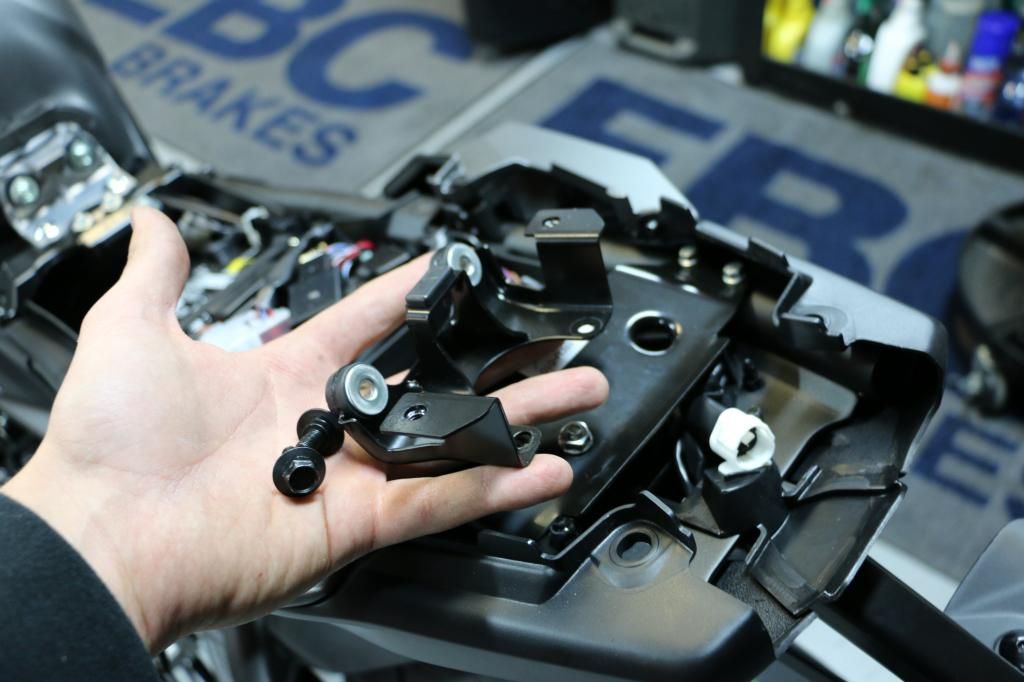
When I was looking at the bracing and brackets on the subframe there was no need for this mount once the under tail was gone.
The lines of the tail on this bike are so sleek. Yamaha nailed it on this tail section.

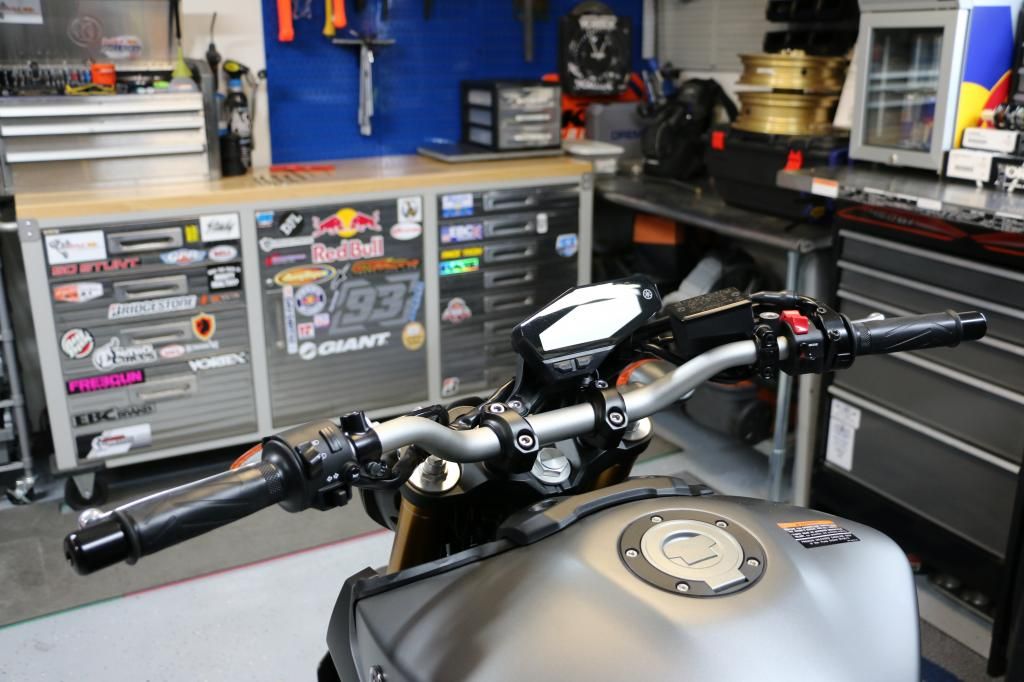
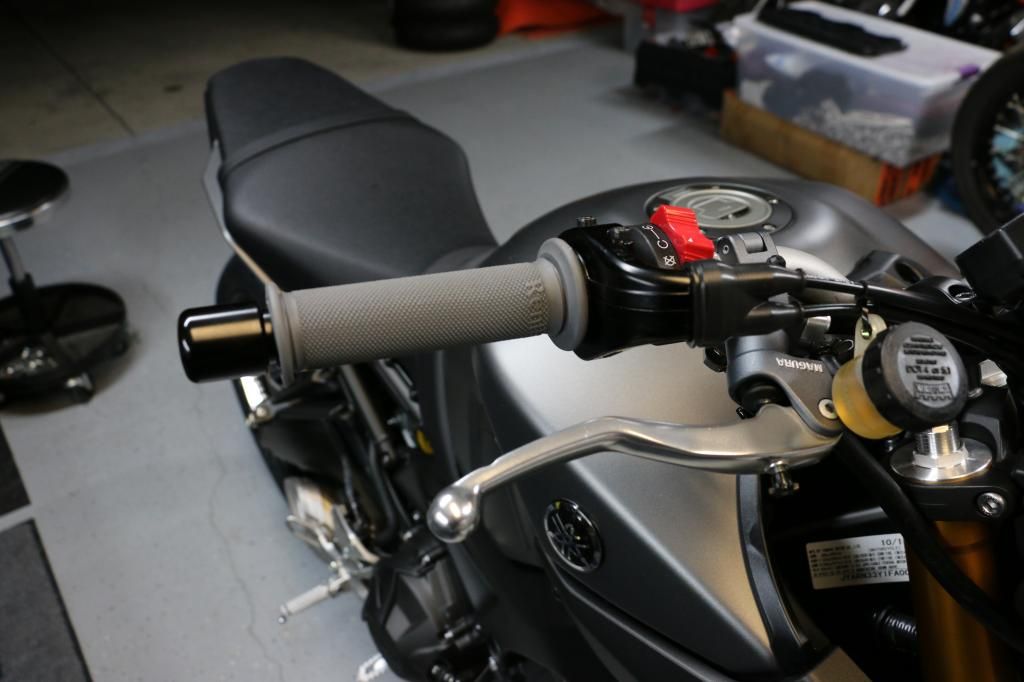
The easy pull RSC clutch perches
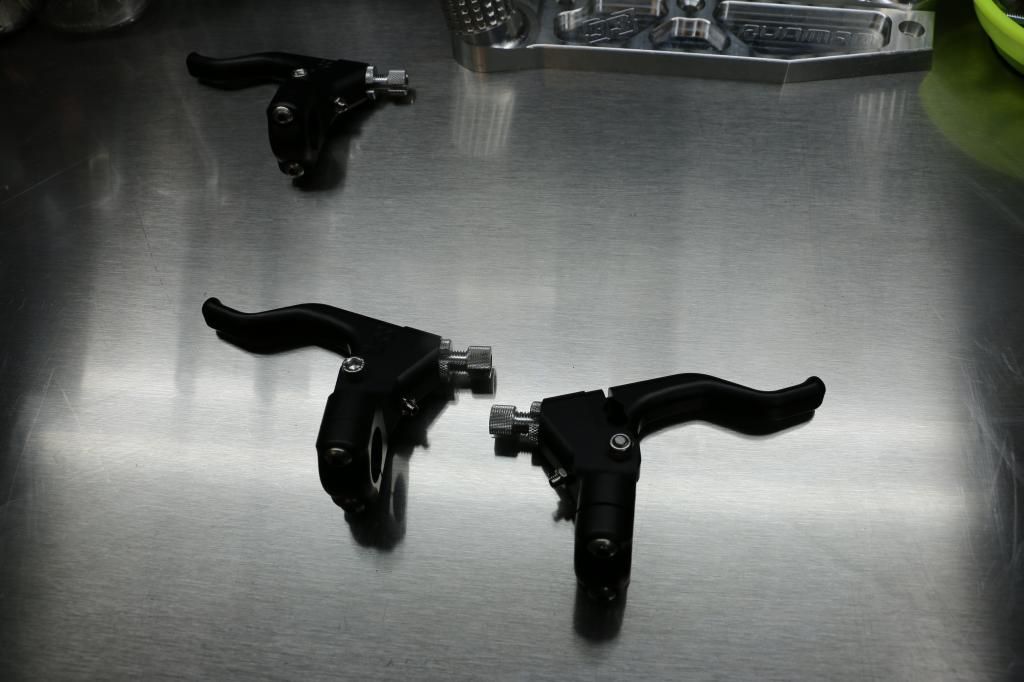
A must for me on every bike are a pair of Full Diamond thin grips. I put the RSC clutch on and removed the street controls while I was it it.
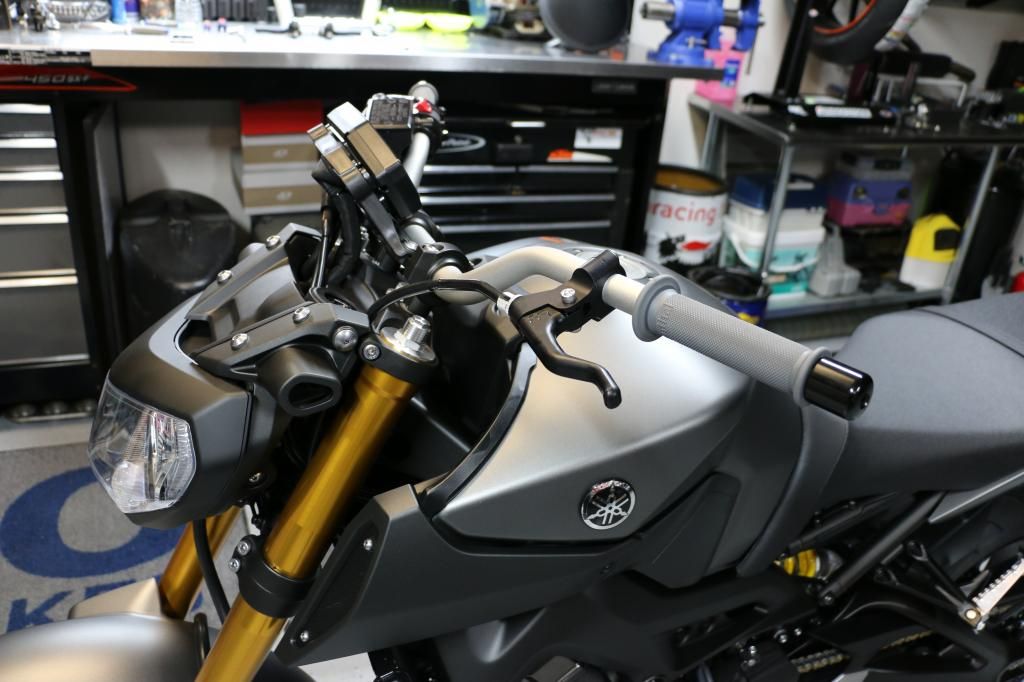
I am going to put a different set of calipers on but am waiting for the new upper triple clamp to measure the lines so I just tossed the new master on for now. I love how the Magura 195 16mm radial feels on almost all bikes compaired to their OEM radial master feel. This will be a huge upgrade from the OE FZ09 non radial.
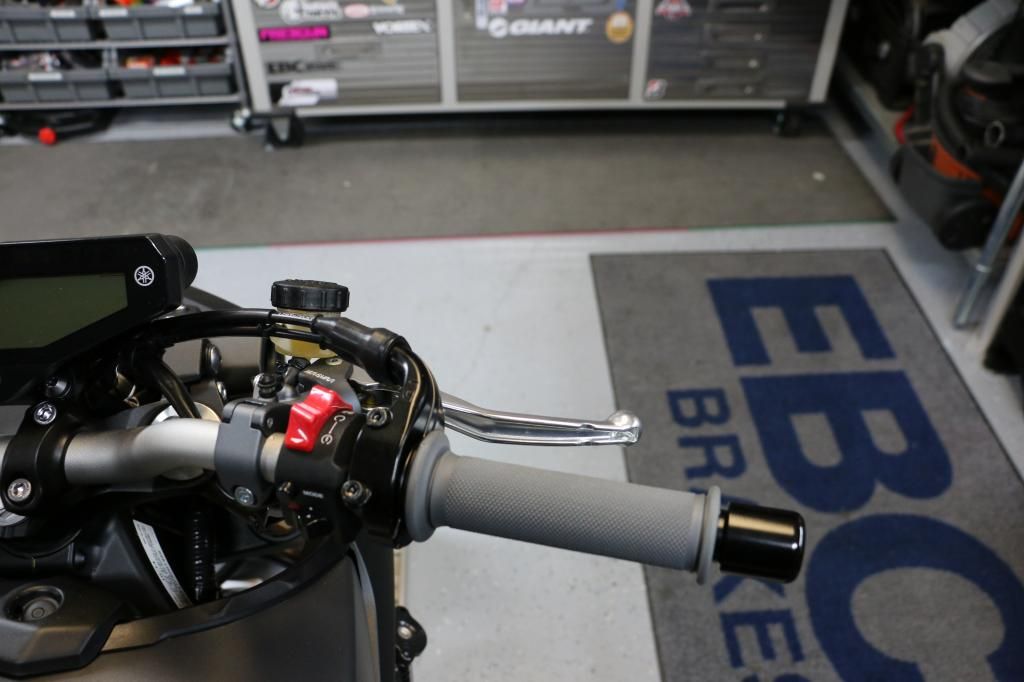
Not how I plan on mounting the resi cup but just strapped it up for now to bleed it.
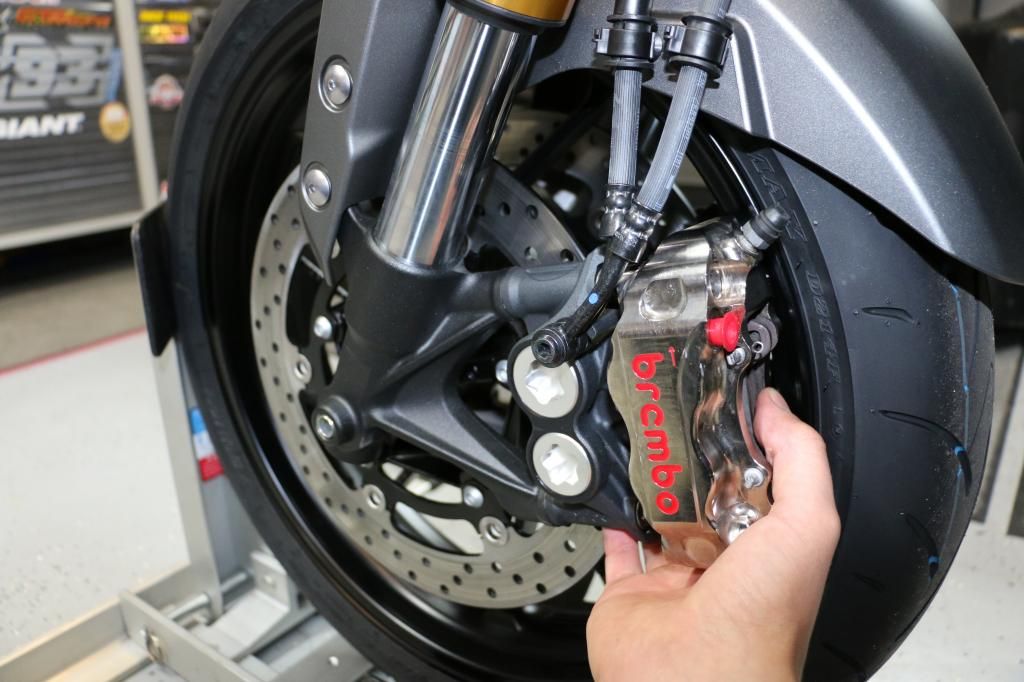
These are the Brembo Calipers that I will be running up front as well as on my handbrake setup.
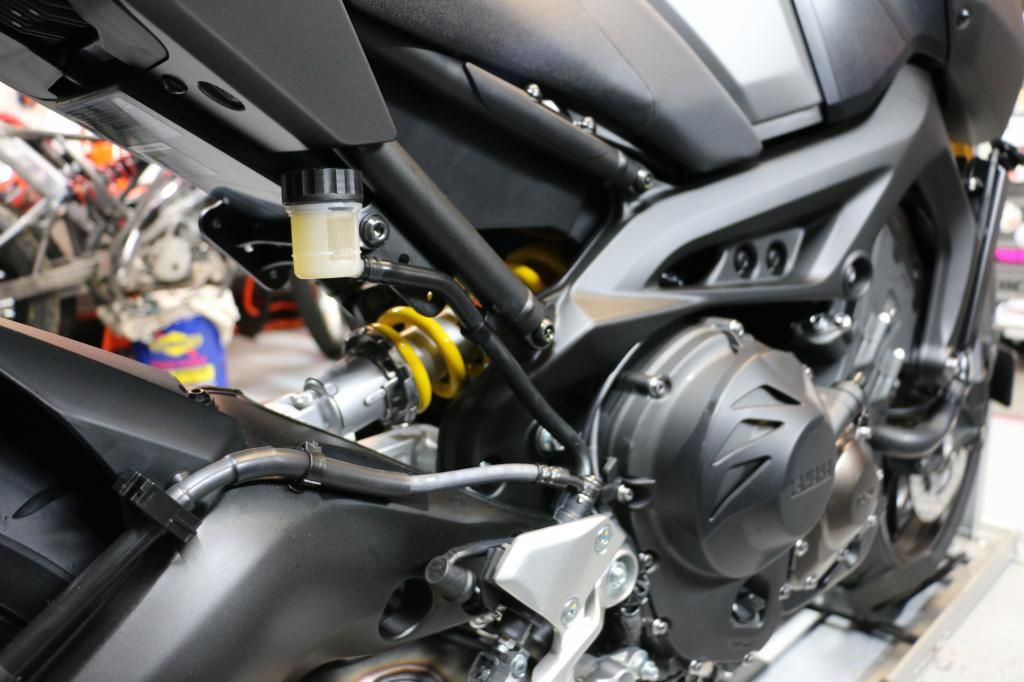
Removed the passenger pegs and cleaned up the rear resi cup while I was at it. Shortened the line by 1.5 inches and mounted the cup to the passenger peg mount. Found an aluminum spacer to fit inside the rubber mount to give the bolt something to bottom out on. Topped it off with a little Locktite. Also removed the rubber sheathing around the line.
On new years day I decided to pick one up and bring it home. It will still be about two months until it gets finished but I started to dig into it a little bit today. Starting with three 20 minute heat cycles and then stripping some bits down.
Here is the FZ09 when it hit the home front


Rolled it into the garage and popped the mirrors off first.

Followed it up with removing the tail light and blinkers.

When I was looking at the bracing and brackets on the subframe there was no need for this mount once the under tail was gone.

The lines of the tail on this bike are so sleek. Yamaha nailed it on this tail section.

The easy pull RSC clutch perches

A must for me on every bike are a pair of Full Diamond thin grips. I put the RSC clutch on and removed the street controls while I was it it.

I am going to put a different set of calipers on but am waiting for the new upper triple clamp to measure the lines so I just tossed the new master on for now. I love how the Magura 195 16mm radial feels on almost all bikes compaired to their OEM radial master feel. This will be a huge upgrade from the OE FZ09 non radial.

Not how I plan on mounting the resi cup but just strapped it up for now to bleed it.

These are the Brembo Calipers that I will be running up front as well as on my handbrake setup.

Removed the passenger pegs and cleaned up the rear resi cup while I was at it. Shortened the line by 1.5 inches and mounted the cup to the passenger peg mount. Found an aluminum spacer to fit inside the rubber mount to give the bolt something to bottom out on. Topped it off with a little Locktite. Also removed the rubber sheathing around the line.


")


