Yamaha FZ-09 Forum banner

Aaron Colton's FZ09 build

165K views 177 replies 66 participants last post by  fashionrider712  
#1 ·
I have been eyeballing the FZ09 for a little over a year now. I have always been a fan of the Three cylinder engine package and how it delivers power on the low end. I have ridden a four cylinder a twin cylinder and even a single cylinder street bike over the past few years and have always had a deep envy for the way the Triumph Street triple hit on the bottom end. When the FZ09 came out the package I could have hoped for came true. A Japanese built sport three cylinder it is exactly what I have been looking for in a bike for drift and freestyle.

On new years day I decided to pick one up and bring it home. It will still be about two months until it gets finished but I started to dig into it a little bit today. Starting with three 20 minute heat cycles and then stripping some bits down.

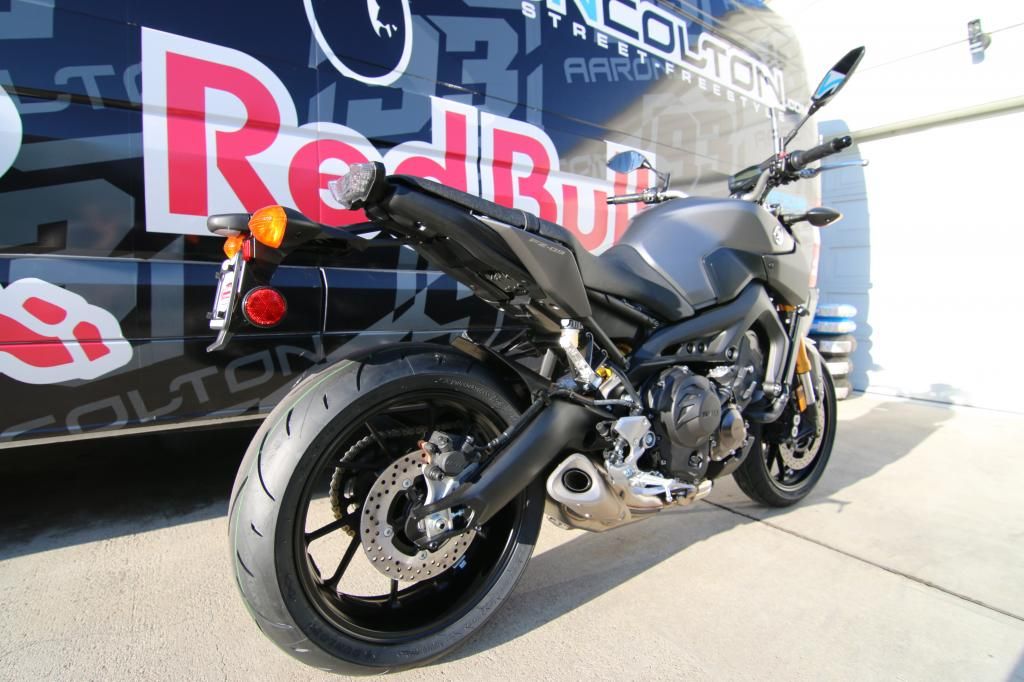
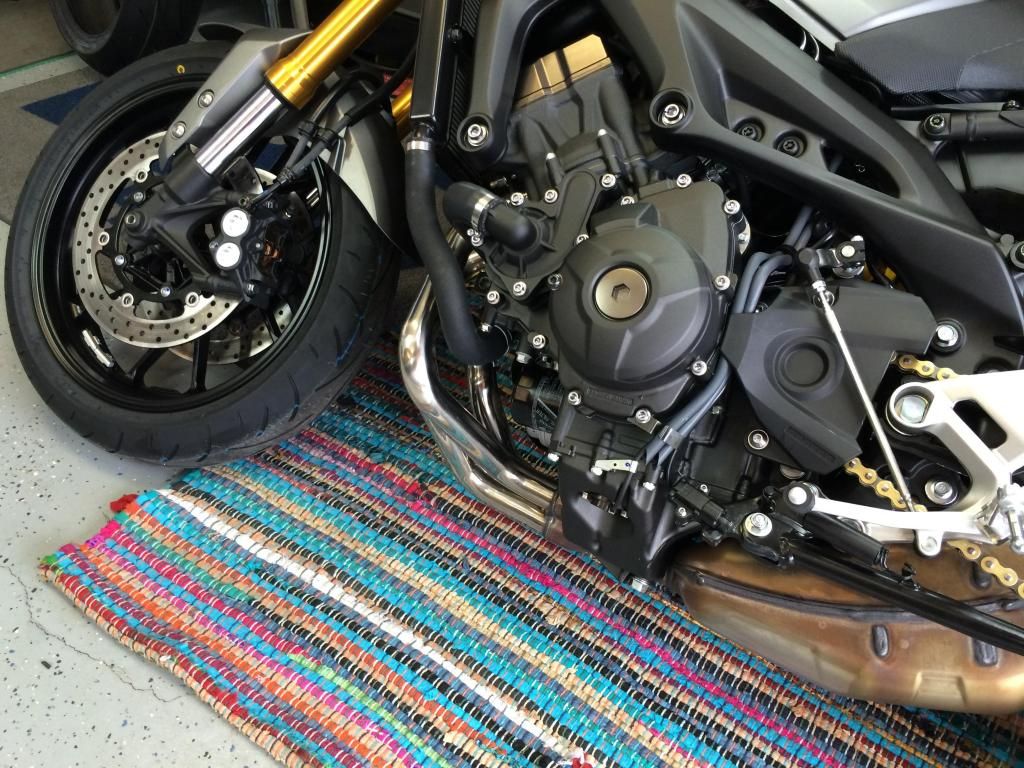
Here is the FZ09 when it hit the home front
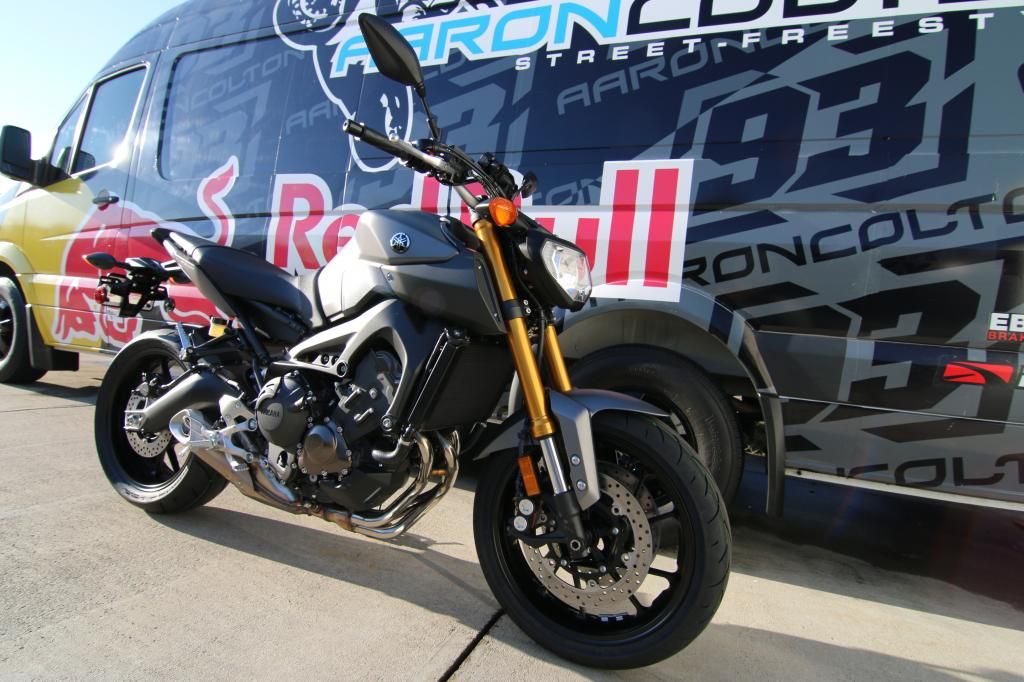


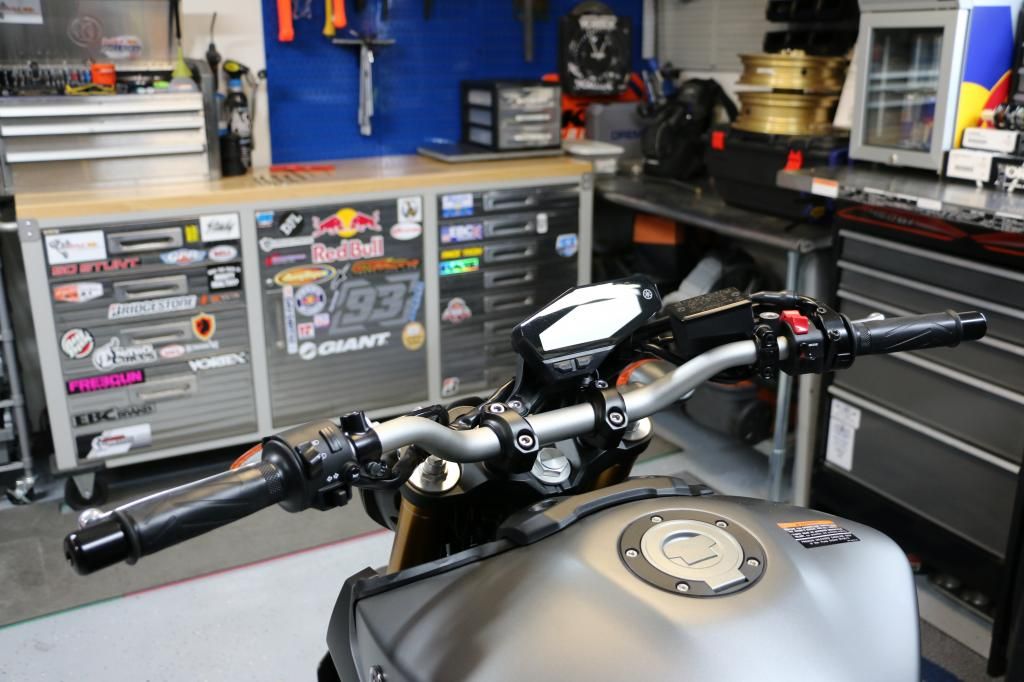
Rolled it into the garage and popped the mirrors off first.


Followed it up with removing the tail light and blinkers.
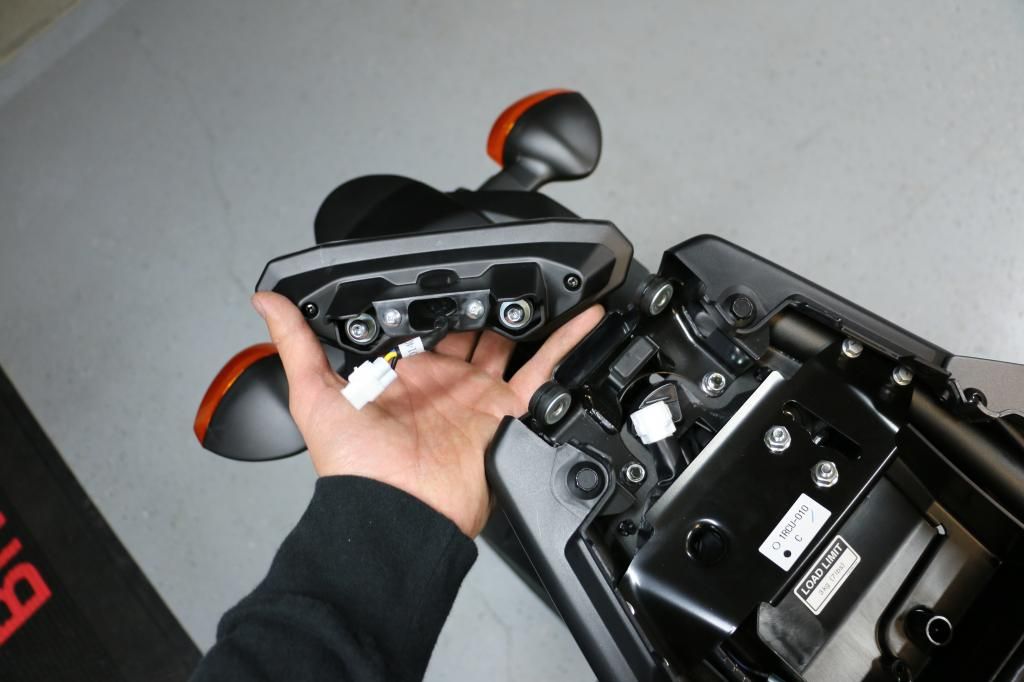


When I was looking at the bracing and brackets on the subframe there was no need for this mount once the under tail was gone.
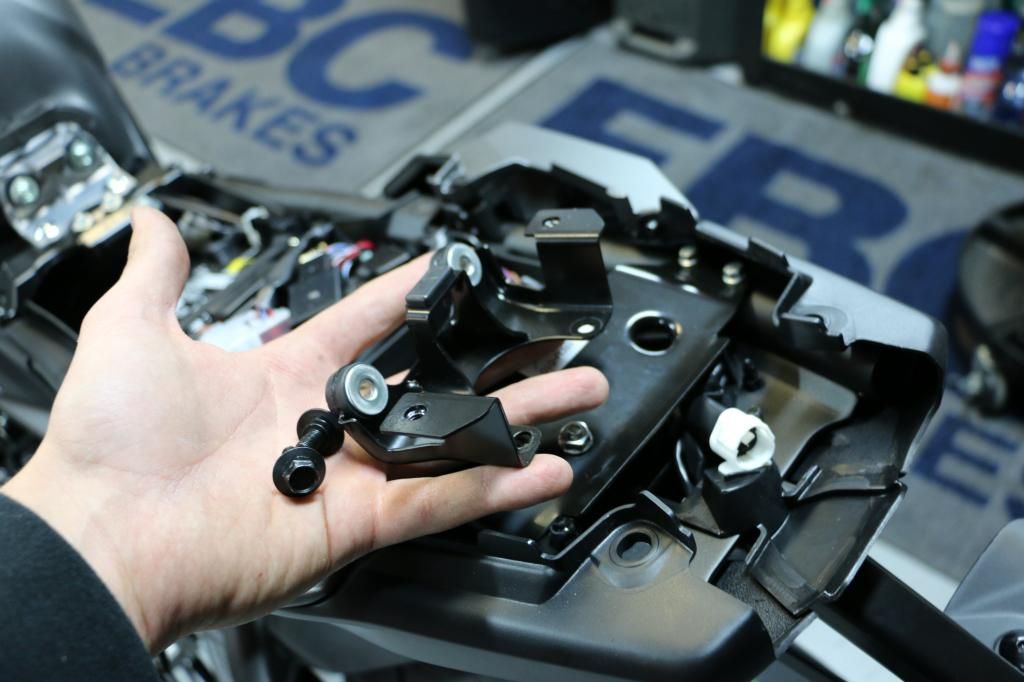


The lines of the tail on this bike are so sleek. Yamaha nailed it on this tail section.
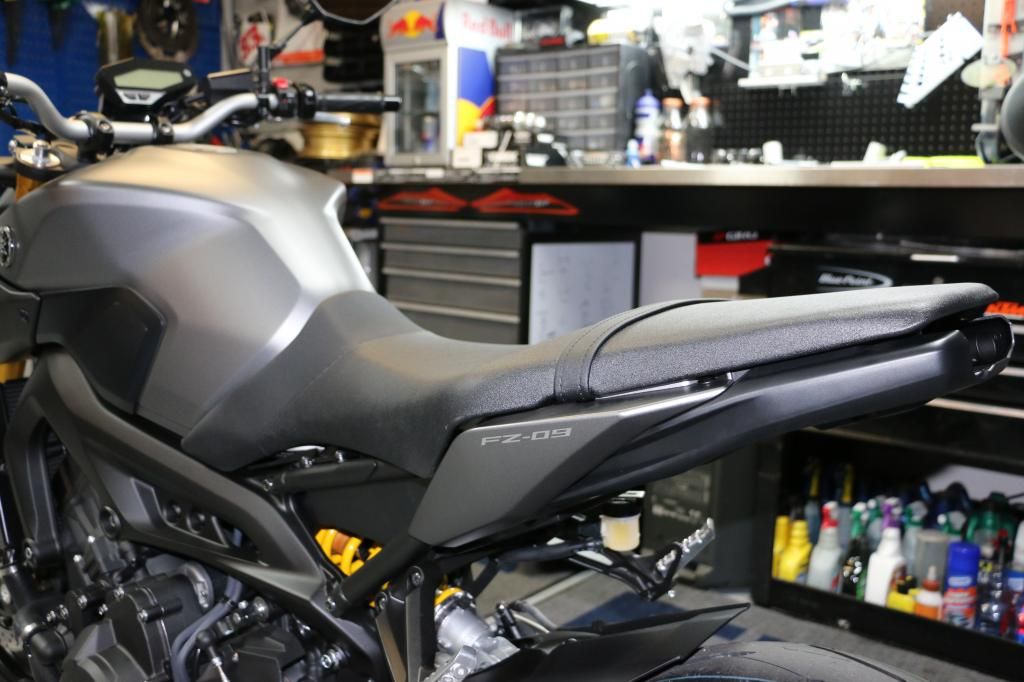


The easy pull RSC clutch perches
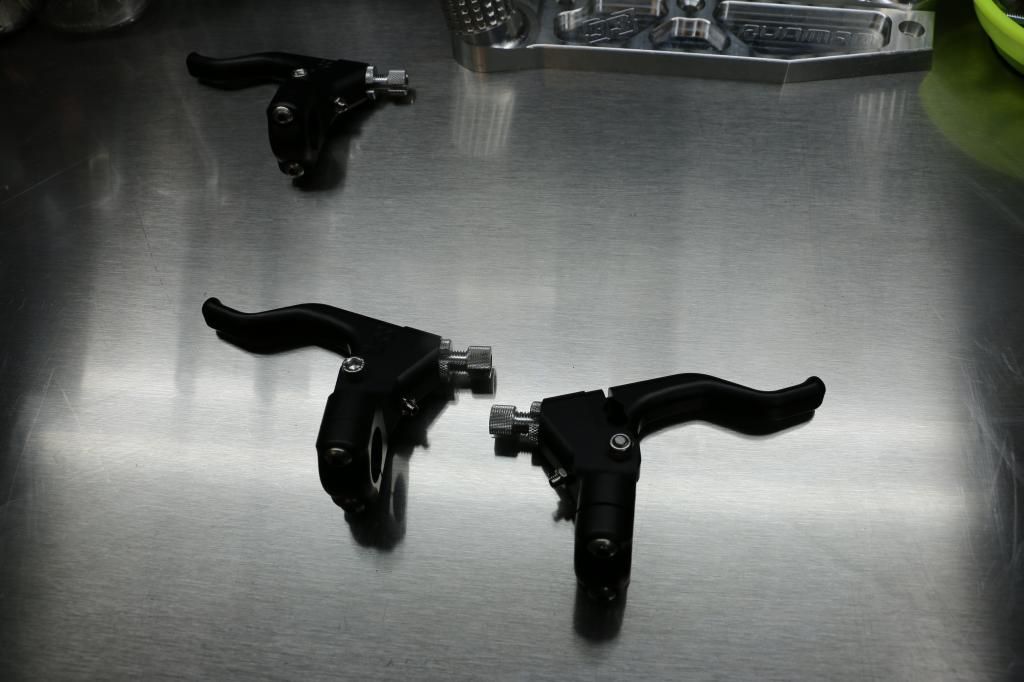


A must for me on every bike are a pair of Full Diamond thin grips. I put the RSC clutch on and removed the street controls while I was it it.
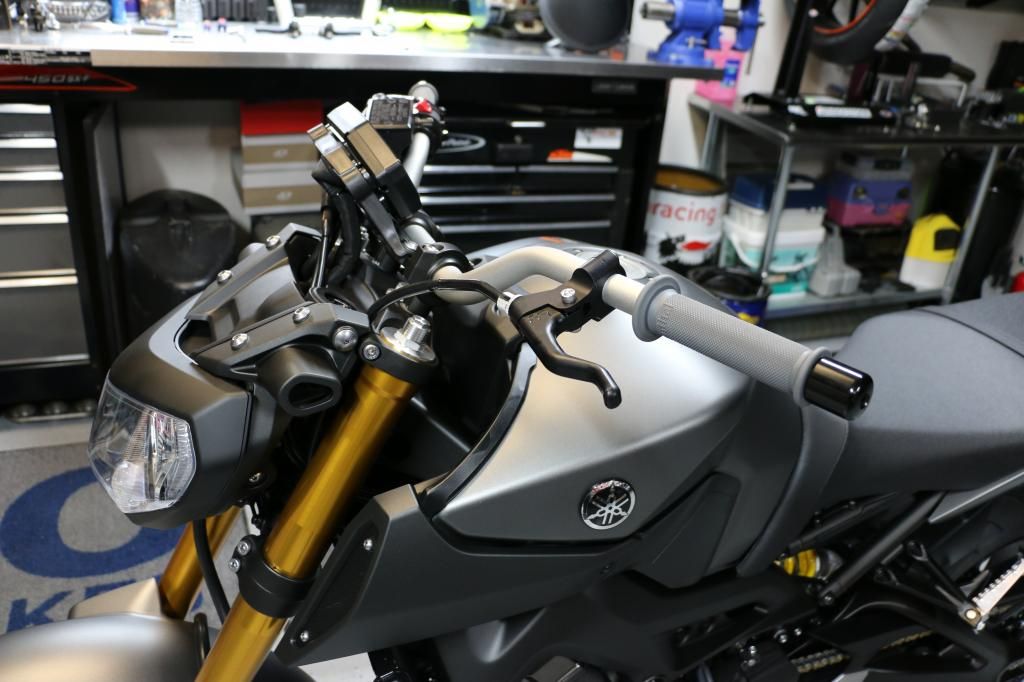


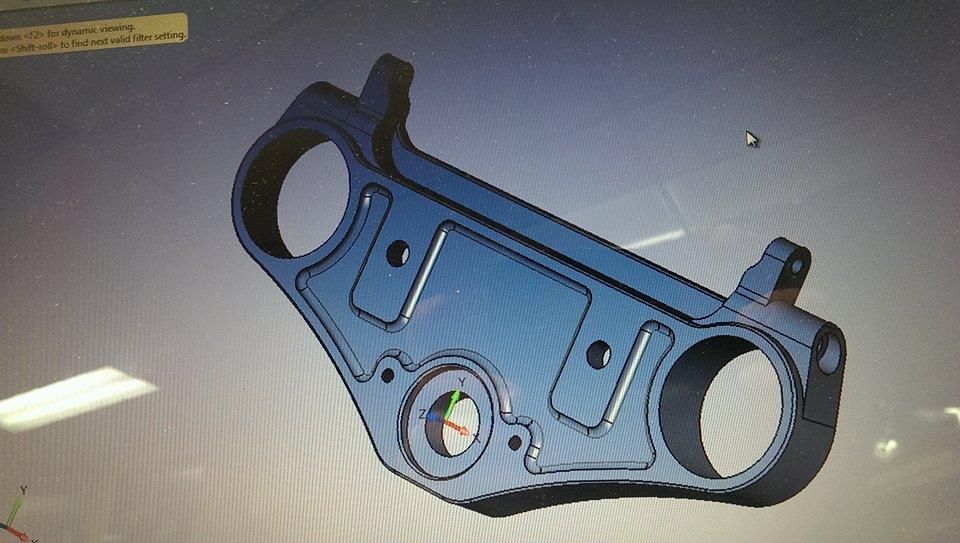
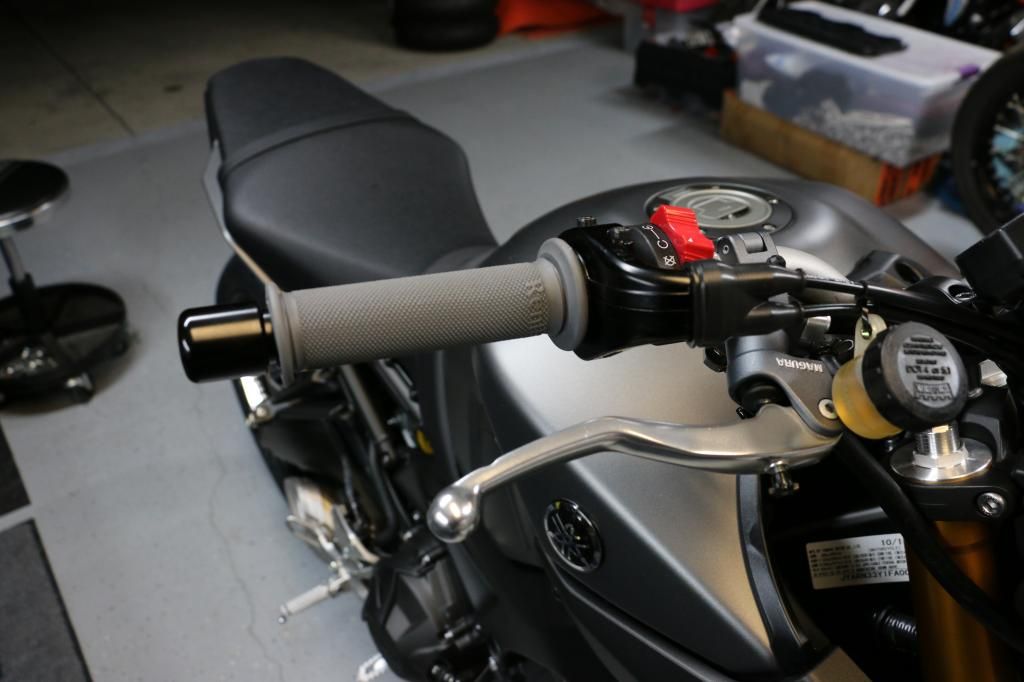
I am going to put a different set of calipers on but am waiting for the new upper triple clamp to measure the lines so I just tossed the new master on for now. I love how the Magura 195 16mm radial feels on almost all bikes compaired to their OEM radial master feel. This will be a huge upgrade from the OE FZ09 non radial.
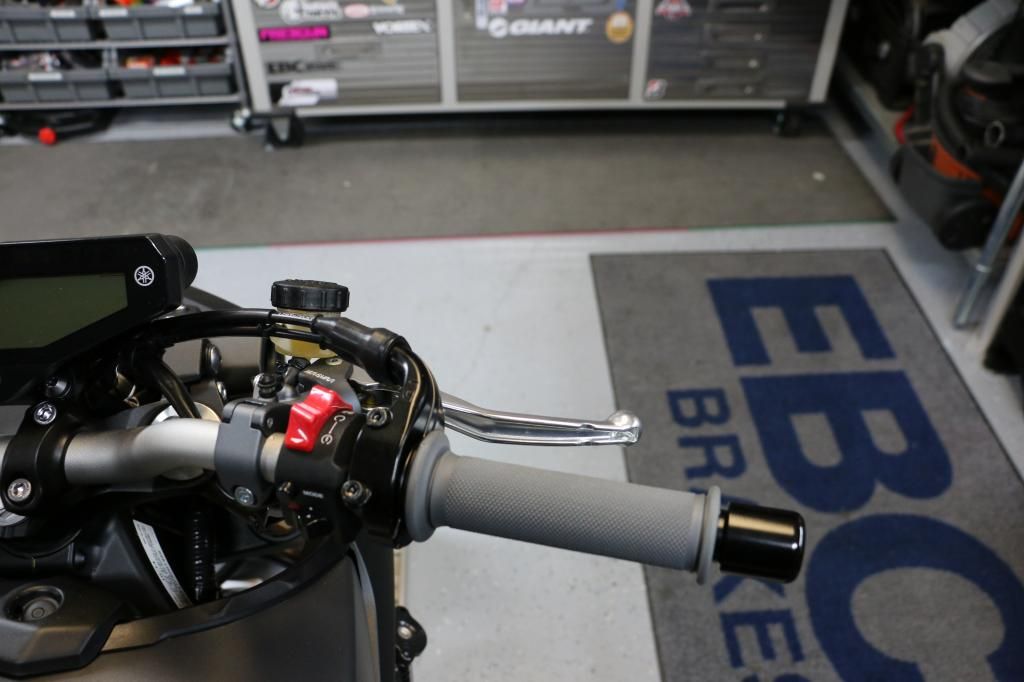


Not how I plan on mounting the resi cup but just strapped it up for now to bleed it.


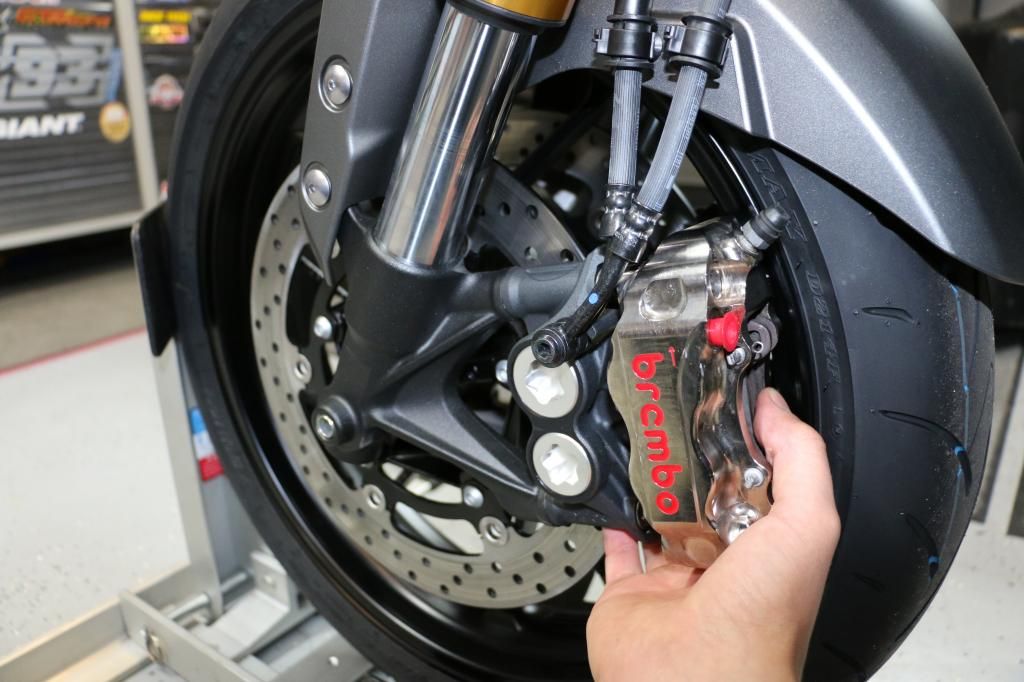
These are the Brembo Calipers that I will be running up front as well as on my handbrake setup.


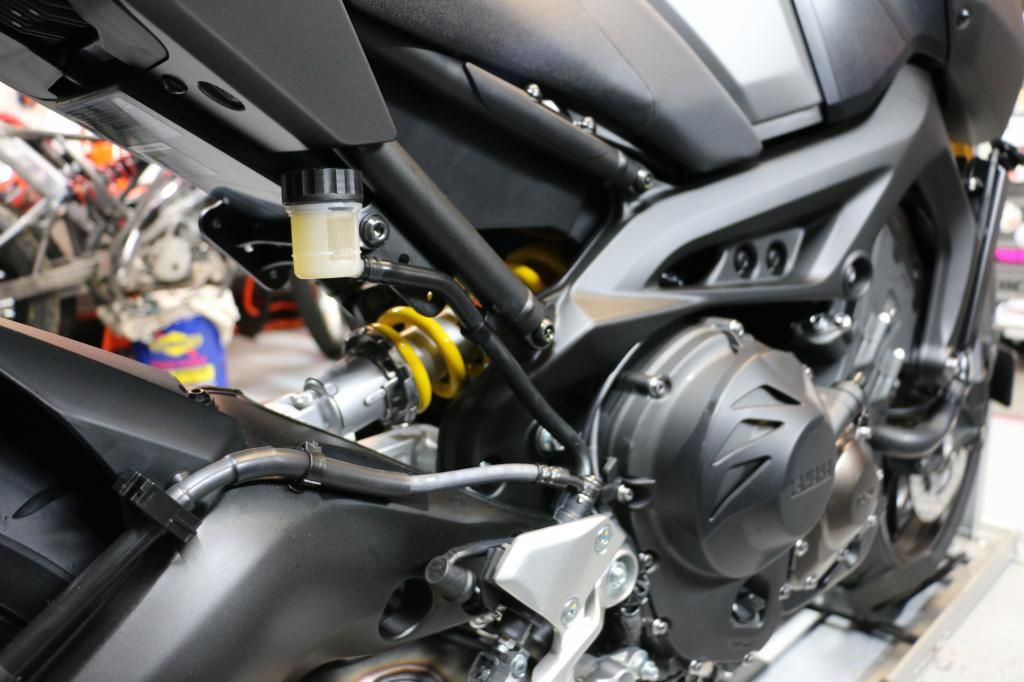
Removed the passenger pegs and cleaned up the rear resi cup while I was at it. Shortened the line by 1.5 inches and mounted the cup to the passenger peg mount. Found an aluminum spacer to fit inside the rubber mount to give the bolt something to bottom out on. Topped it off with a little Locktite. Also removed the rubber sheathing around the line.
 
#4 ·
Im sure a lot of people on here already know this but for anyone struggling to get grips on or off a little air is the golden ticket.

Wax off


Wax on


Before I bring the bike to the Dyno and start flinging white lithium all over the dyno room I decided to give the chain a little Simple Green bath.
 
#5 ·
Nice. Thanks for the build post! I felt the same. Waiting for a decent Japanese triple for years. I fell for Japanese triples when I first rode my brothers h1 500 and h2 750 mach triples. Keep us posted.
 
#6 ·
This should be a very cool build by a very impressive young man.
I just spent the last hour on Google and You Tube watching and learning more about Mr Colton.
Personally I'm thrilled he would share his 09 adventure on this forum and look foward to his progress with the bike.
 
#7 · (Edited)
Thanks for the rad responses guys! I am super pumped to turn this bike into a performance work of art and will do my best to keep everyone posted along the way. I will be making some pretty big head way on the bike this week as more parts come in tomorrow and Tuesday. I am trying to pick out what bars I want to run this evening to order in the morning. The OE bars are of nice quality but with my broader build at 6"3' the OE bars are a little too narrow for my preference. The stock bars are 29" (736mm) wide without the bar ends. I normally run a bar that is 31.5" (800mm) on my freestyle, Flattrack and Motocross bikes.

I also want a bar that is a little bit lower that the OE bar as when I install the GPR Stabilizer and upper bar mount that the bars will now be 20mm higher and I feel that if any higher the seating position will become too relaxed for my preference.

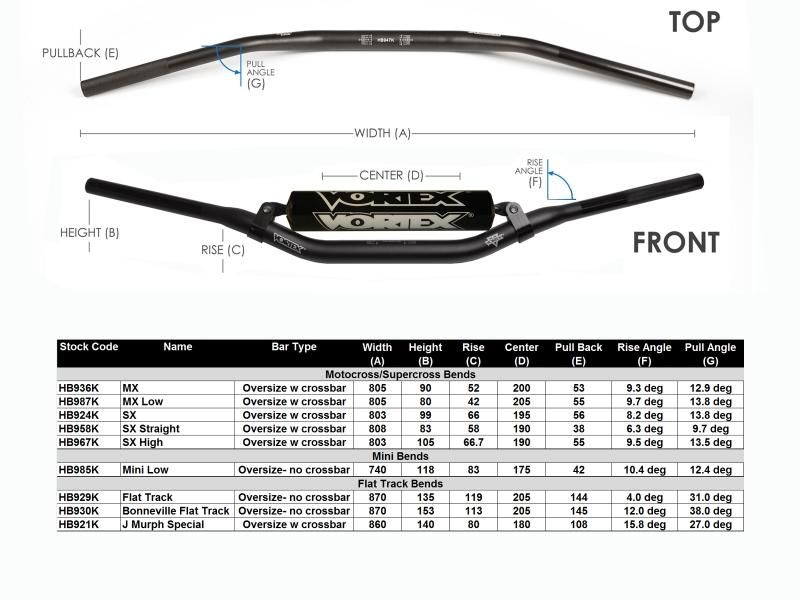
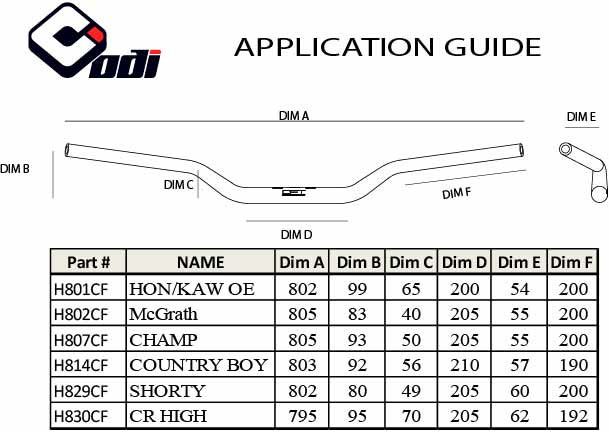
I normally run Pro Taper Bars across the board but I have a problem on my Freestyle bikes with the amount of space to mount the controls on the left hand side with my clutch/handbrake setup. I searched between the brands and am between the ODI Champ and Vortex V3 MX bend. They both not only have the proper space to mount all of my controls but also are in my ballpark of the rise,sweep,width and pullback angle that I like.

With either choice I will be removing the cross bar. The oversized bars with the cross bar are a little to rigid for my style and it is a bonus that the left cross bar mount will make a great mount for my handbrake reservoir.

I know that it is hard to find the bend charts sometimes so ill post the Vortex and ODI bend charts here.

Vortex


ODI
 
#8 ·
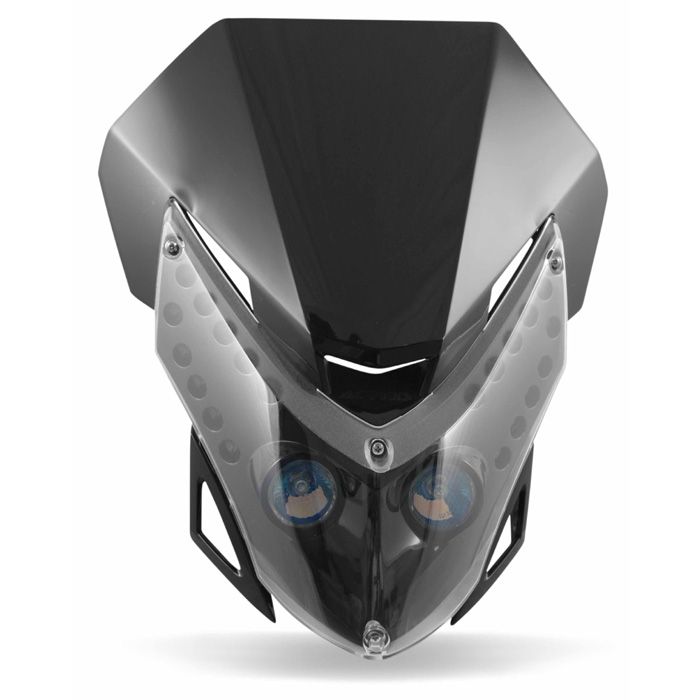
It took me a while to find one of these and I still need two more, but I will be swapping out the OE headlight assembly as I only need something for vanity. I think the Acerbis LED Vision headlight takes the cake for aggressive styling. It will look perfect for the vision I have for this mean machine.

 
#16 ·
For your levers, it is the model with bearing and do you find that it reduce the clutch & brake effort?
 
#17 ·
I do have one with the bearing but this one is actually the bushing model. The ease of the pull is due to the near perfect tolerances as well as two separate leverage positions you can put the clutch cable into. The forward position is in line with the adjustment. The one with the ease of pull is closet towards the bar. I will post a picture a bit later.
 
#18 ·
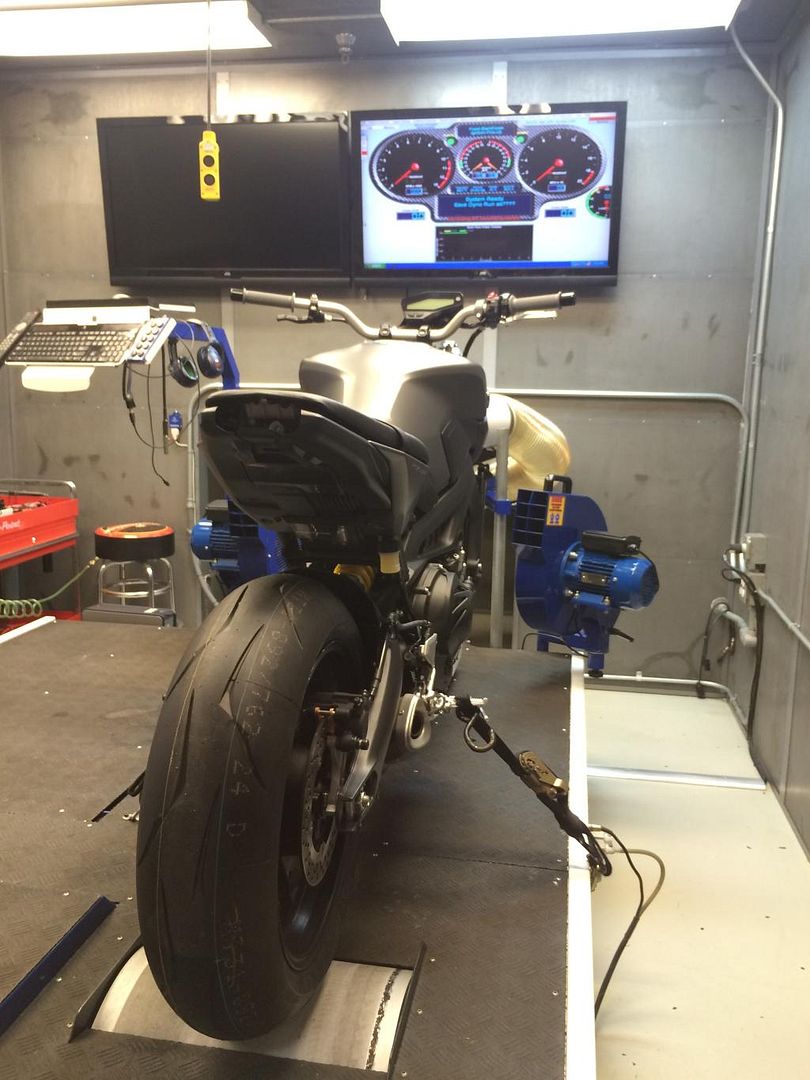
Starting to get the bike prepped to get a little time on the track next weekend before I strip the bike completely down for the custom work. I took it over to Bazzaz's dyno put put a good 50 miles of load runs and heat cycles on the engine before I spin some laps on it at Sonoma.

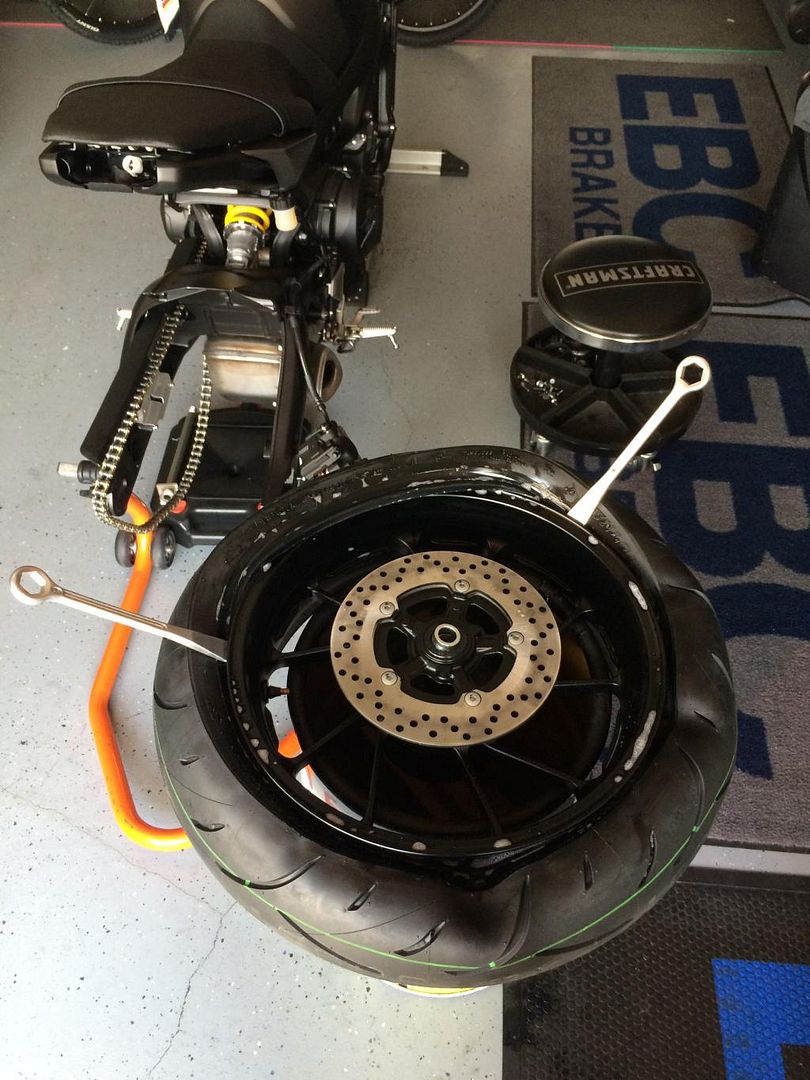
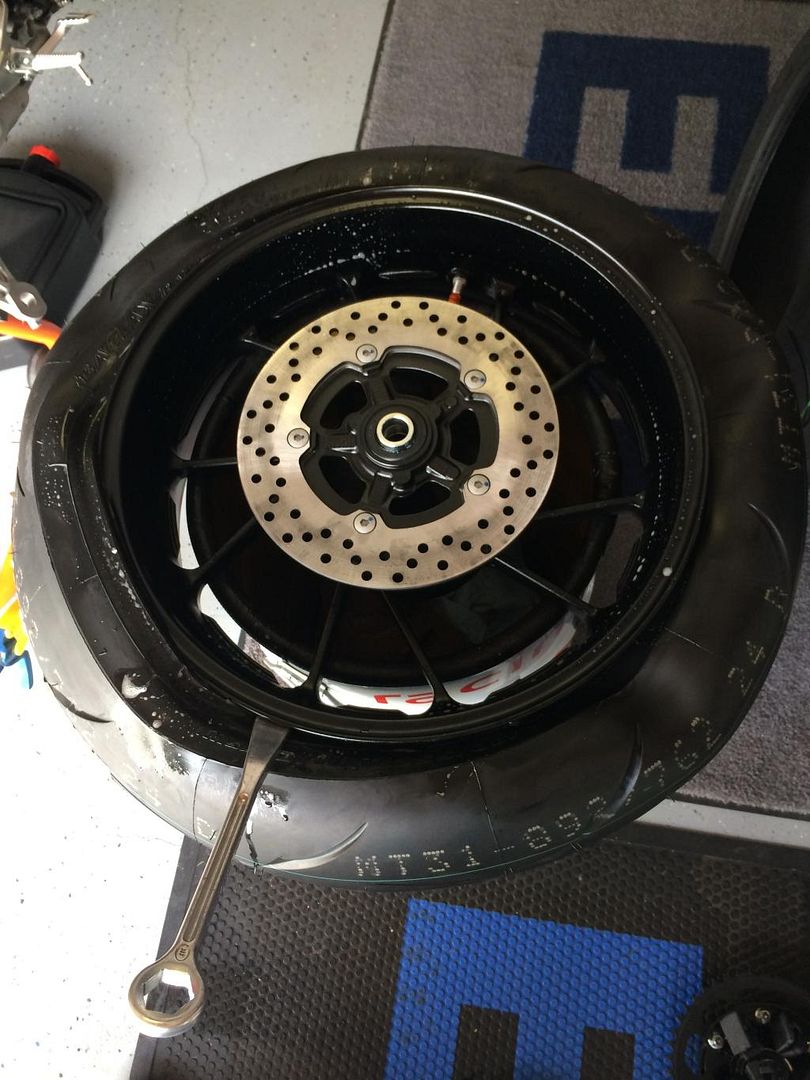
Before I brought it in I threw some real rubber on the beast and discarded the stone hard OEM donuts. The main reason I did this for they dyno and not just the track is so I can keep a control tire on the rear throughout the build and since I will be running the Bridgestone R10's on the 09 that's what I will be burning a chicken strip into today.

Most might cringe but I can have an old tire off and and a new one on in less than 3 minutes. Aluminum tire irons and small plastic shims keep the rims looking better than any dealership hack job.


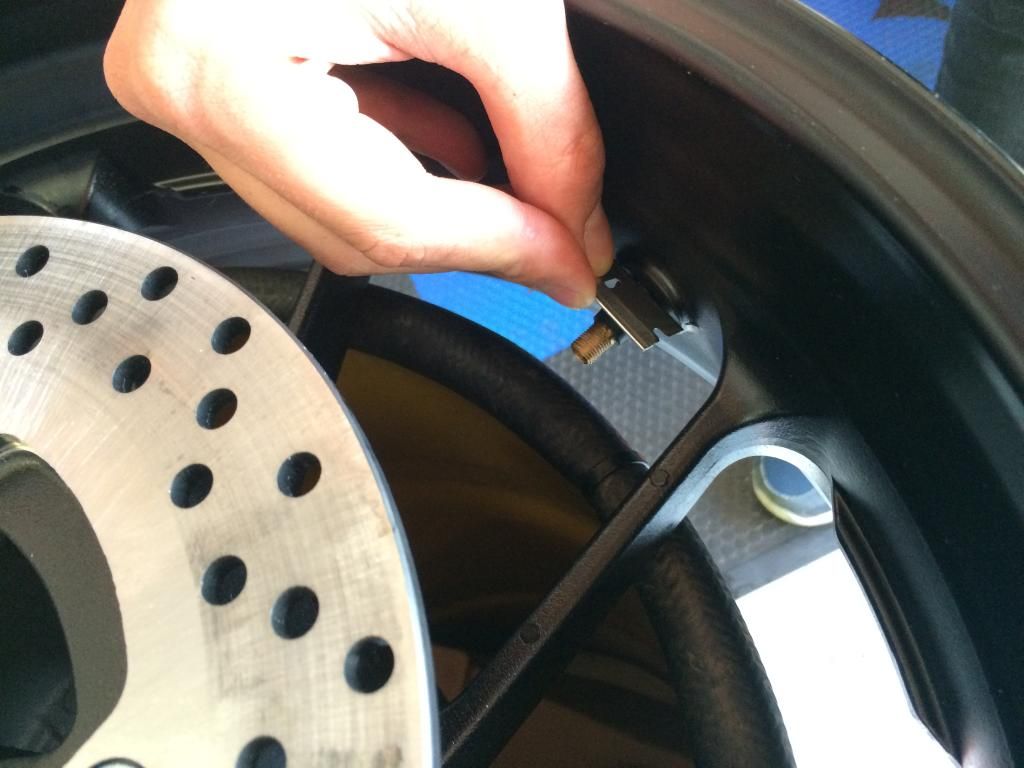
While the rim was off I also swapped out the valve stems to the aluminum ones that I like to run. I like the look, the weight and I had a rubber one tear years ago so I swap them out on all of my rims.


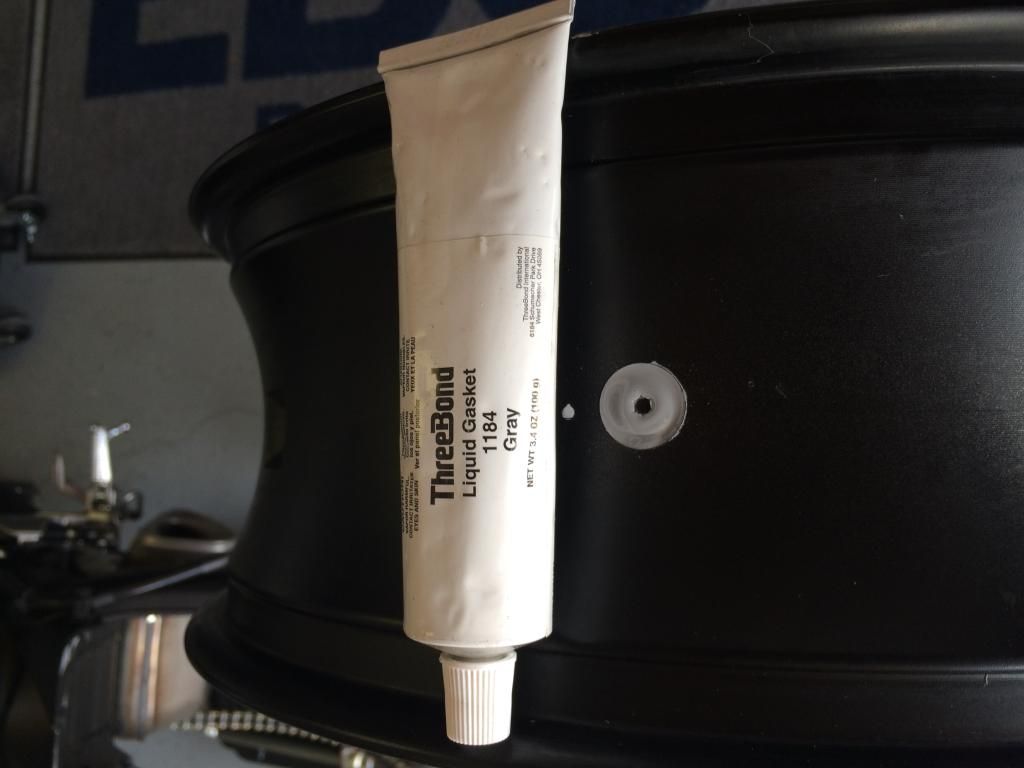
As usual the OCD kicked in and I put liquid gasket around the new valve stem as it did not fit completely flush in this Yami rim so I leveled it out and gave it that in between the ears seal of confidence.


All systems go and everything went great on Bazzaz's dyno. I will post up the charts when I get them in PDF.

 
#25 ·
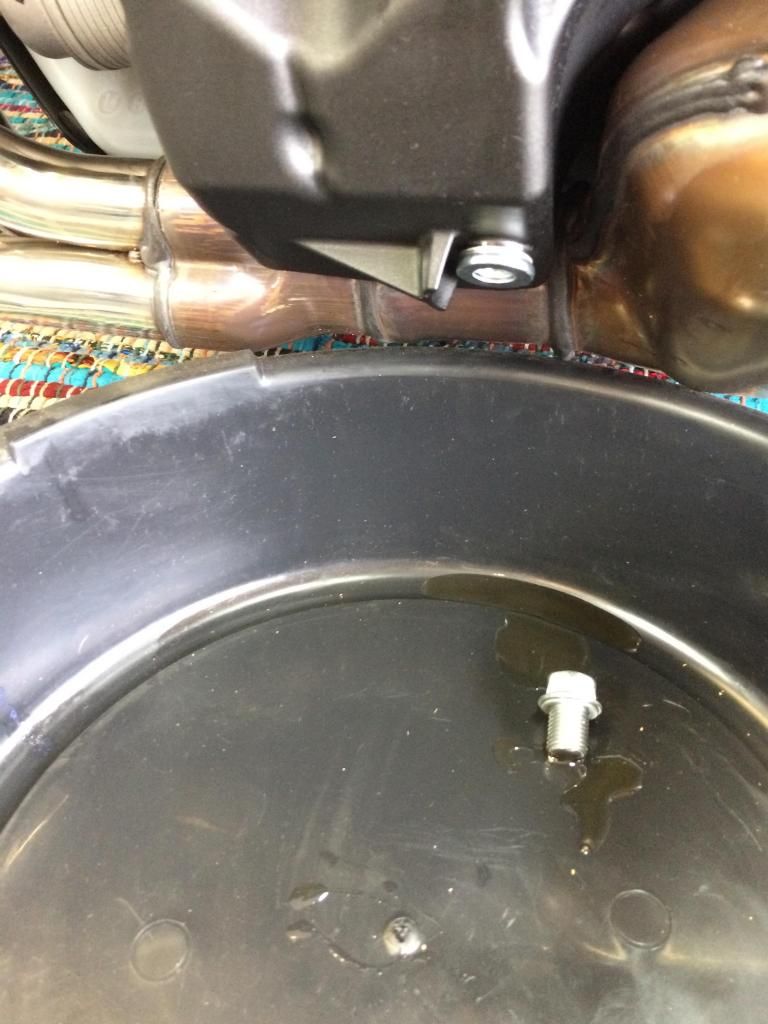
So the drain plug cracking the oil pan all the time is a no go for me. I will eventually make a custom oil pan for the bike with a different location of the oil drain. I have to start testing the bike soon so I cant take the engine down for this long at the time.

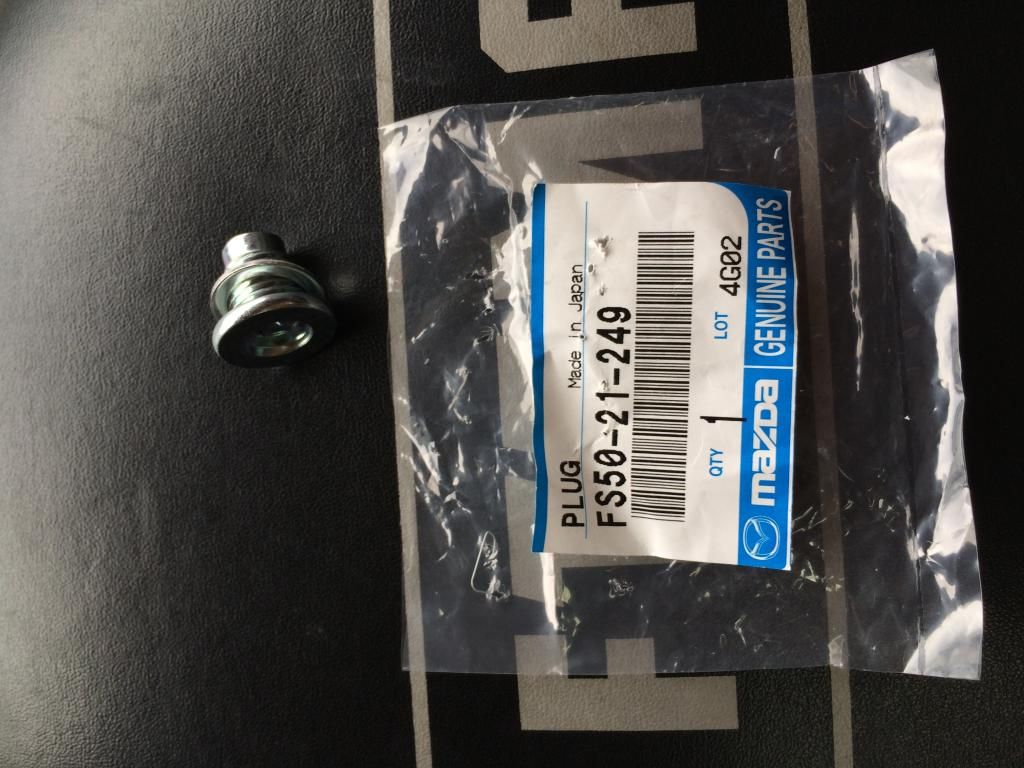
Here is the drain plug that i found with the same specs as the FZ but a nice flush mount allen head instead.


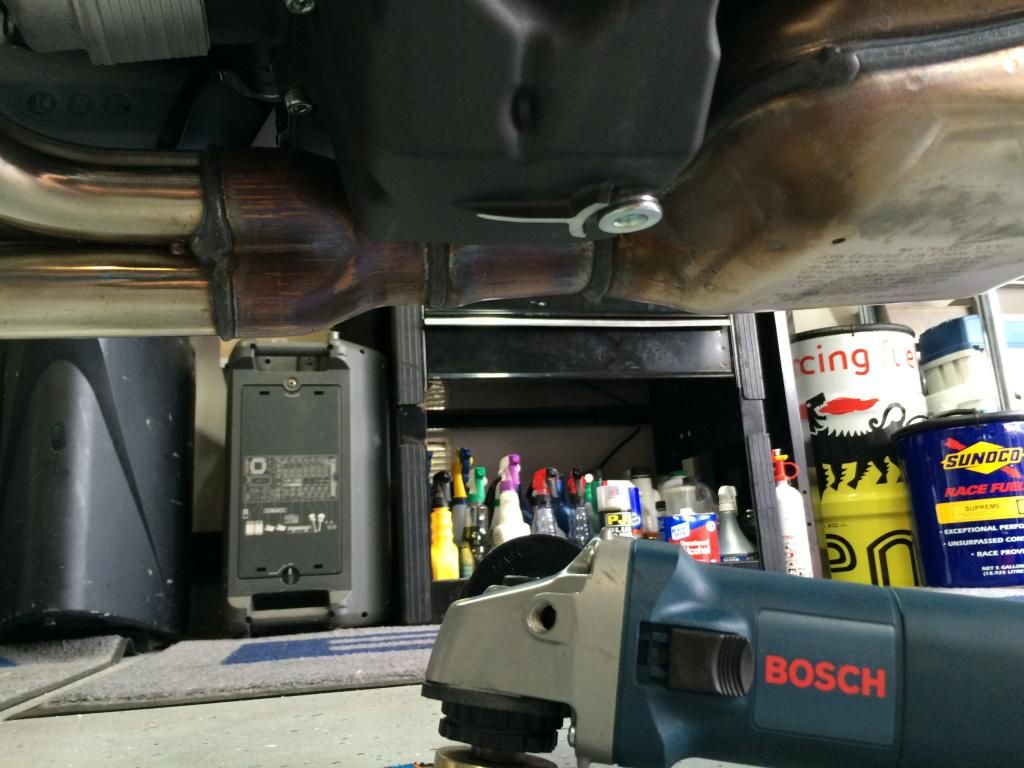
I don't want to drop the OEM oil till I hit 200 miles so I laid the bike on the side almost until the rear brake pedal was touching the ground and rested the handlebar end on a PA speaker.


With little blood spared out with the old in with the new.


I shaved the fin with the die grinder down until just above flush and polished up with a flap disk extending the radius further forward to keep a sleek angle.


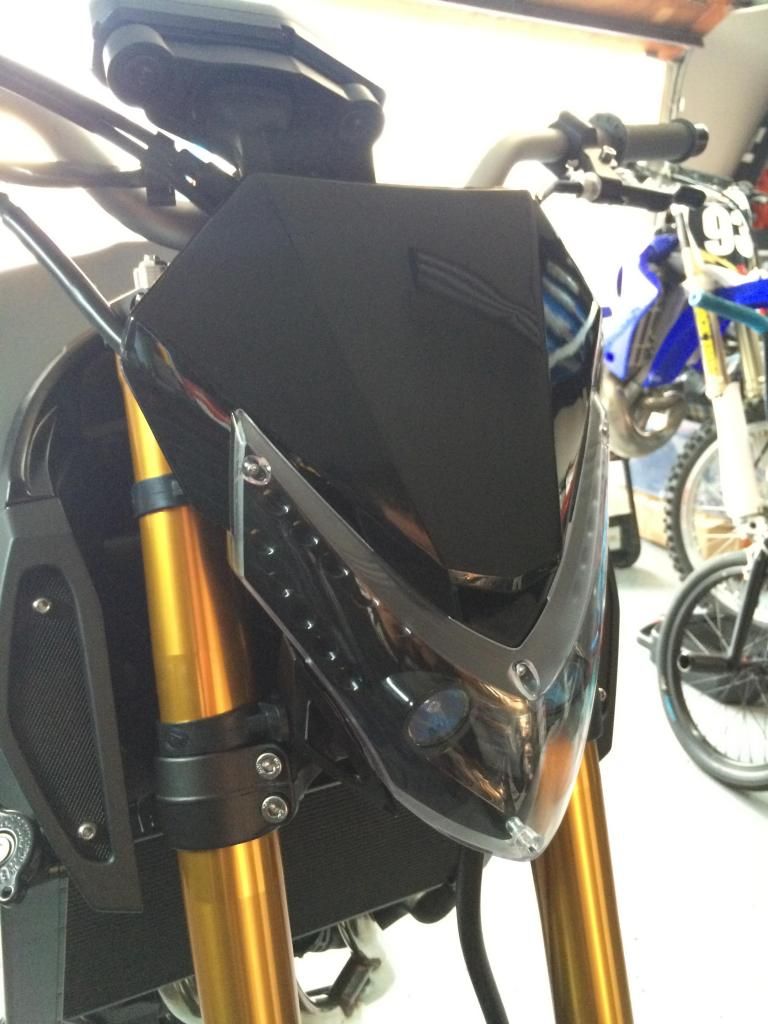
Finally found a Vision LED headlight to replace the OEM one.


Wow... It looks mean. Will work great as a front number plate as well.


Ferocious... but I didn't like the clear lenses on the headlight so I pulled it and went to the store to grab some Rid Dye.


I had done this on a model airplane windshield one time but I am not quite sure how this will work out on a thicker plastic but I figured I would give it a try. I got the water to a rolling boil and poured the hot water into a new drain pain. I put the full bottle of Blue Dye into the hot water and once it hit 200 degrees I put the head light lens in the pan. I covered it with foil and I will let it sit overnight. I will see how much the color takes in the morning.

 
#26 ·
Super sick build! Giving me alot of ideas here man
 
#28 · (Edited)
After removing all of the smog junk I had to tie up a few loose ends. I could of just capped the T's but decided to go direct to the vacuums on the throttle bodies. I decided to use clear at the moment over black just out of curiosity to see if I would see any fuel residue of any kind.


While I had the tank off and was looking at some of the routing and spacing I decided that instead of ditching the horn I would just run it on a momentary button on the bar and tuck the horn inside the left cowl. Wiring to come but it need to go pick up the right ID heat shrink.


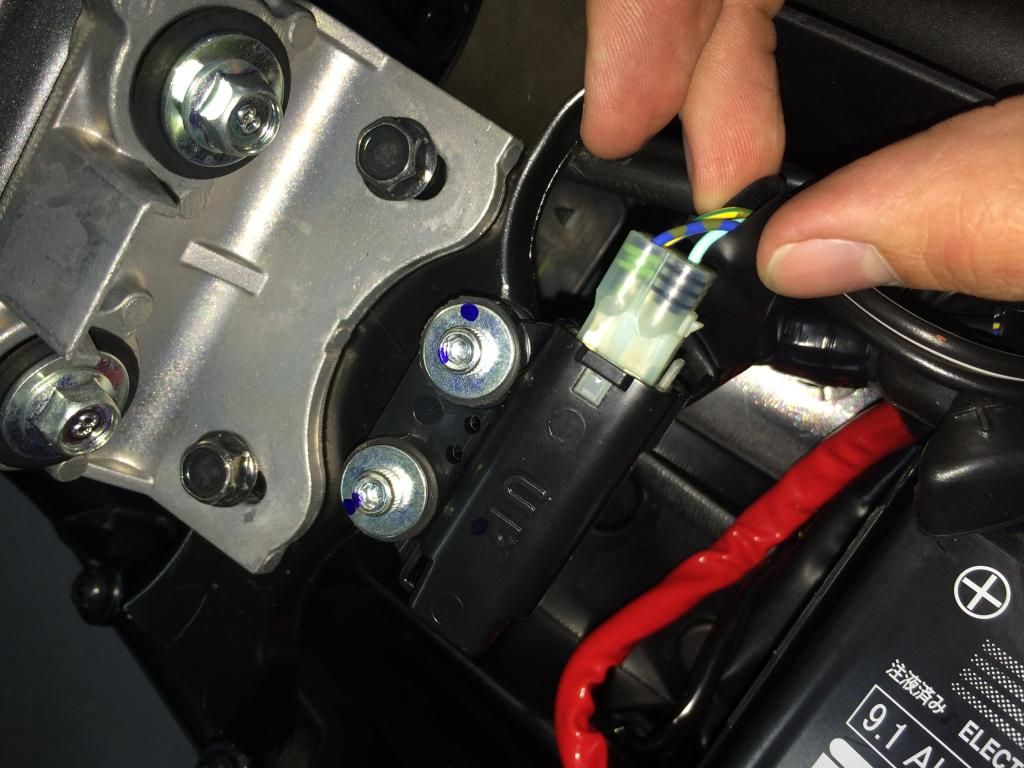
I will be making a separate thread on "How to" disable the tip over sensor/Bank angle sensor but that was also on the to do list today.

First Removing the Tip over sensor


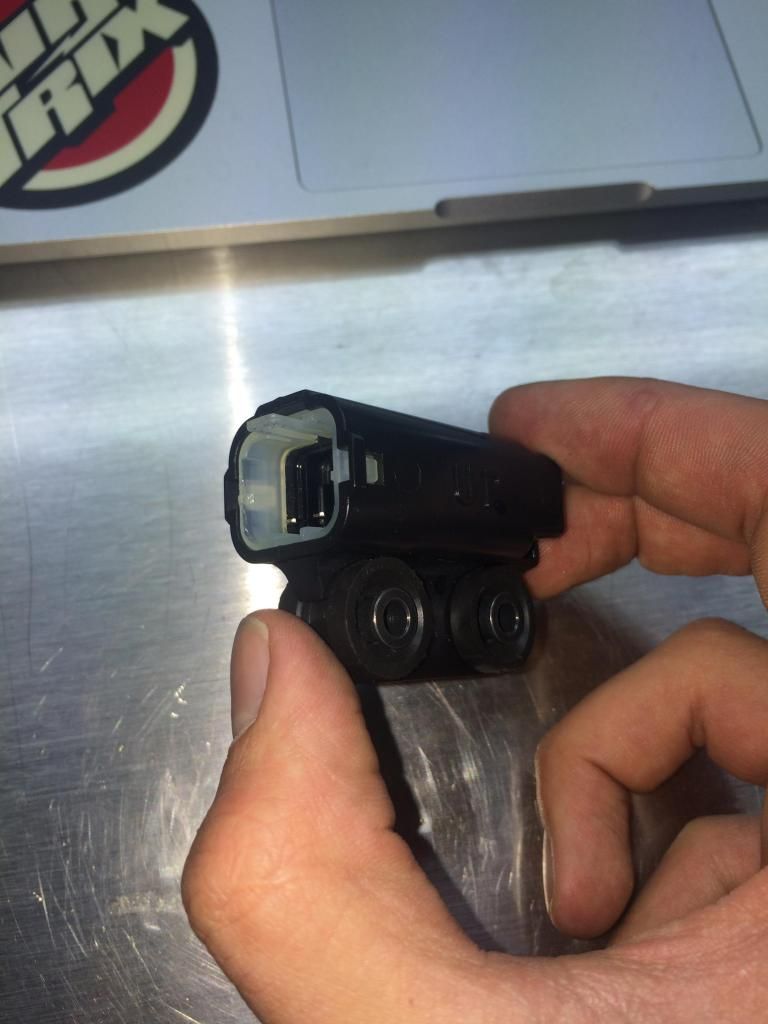
The weighted for the sensor that needs to be disabled is inside this little box. After pushing in both tabs the connector slides out of the sensor body quite nicely.


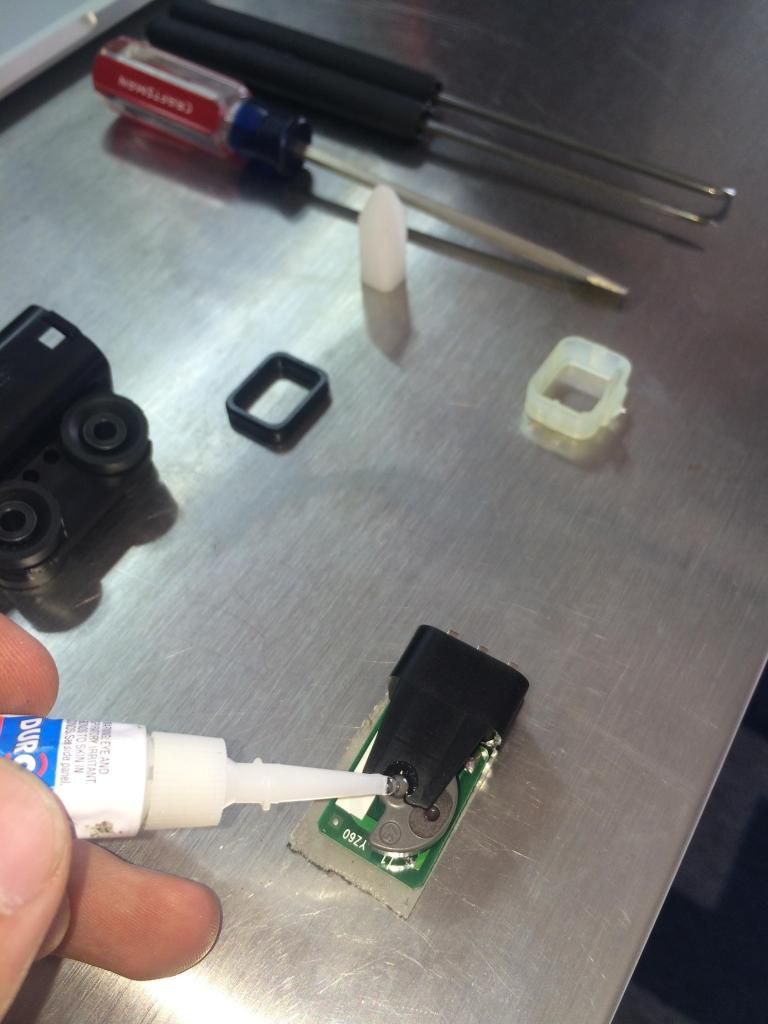
After looking at the inner workings of it it was a very simple design. Instead of trying to find the proper resistance to jumper the connector and completely remove the sensor I decided to glue it. I know it seems pretty half ass but I have done it before and it works great.


This is what the actual moving magnet looks like.


While placing the sensor assembly on the flat workbench and leveling out the sensor to the riding upright position I glued the little guy in place.


Flipped it over and did the same.


After I let it dry for a half hour I slid it back into its outer body and click it went.


Installing it back in the factory position for now but I will no longer be mouse trapping wheelies when the sensor makes the bike shut off!!!


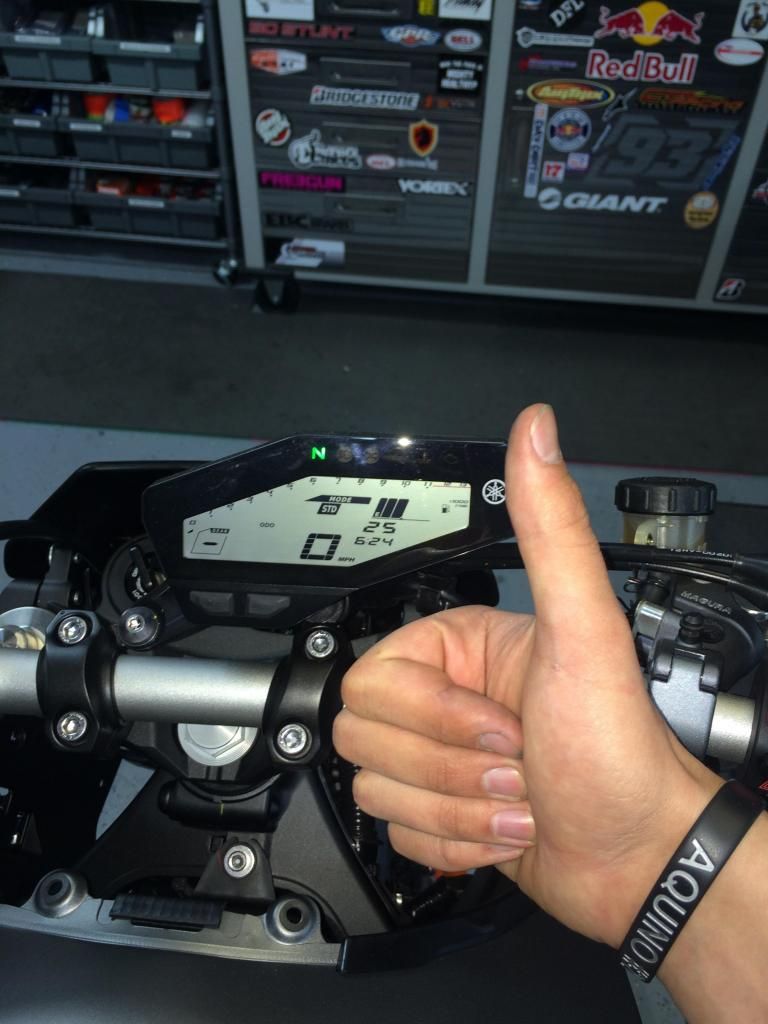
Turned the key started the beast up and all systems go. No dummy lights to be seen.
 
#30 ·
After I took care of of the tip over sensor I felt that the mis match tires where not cutting it.

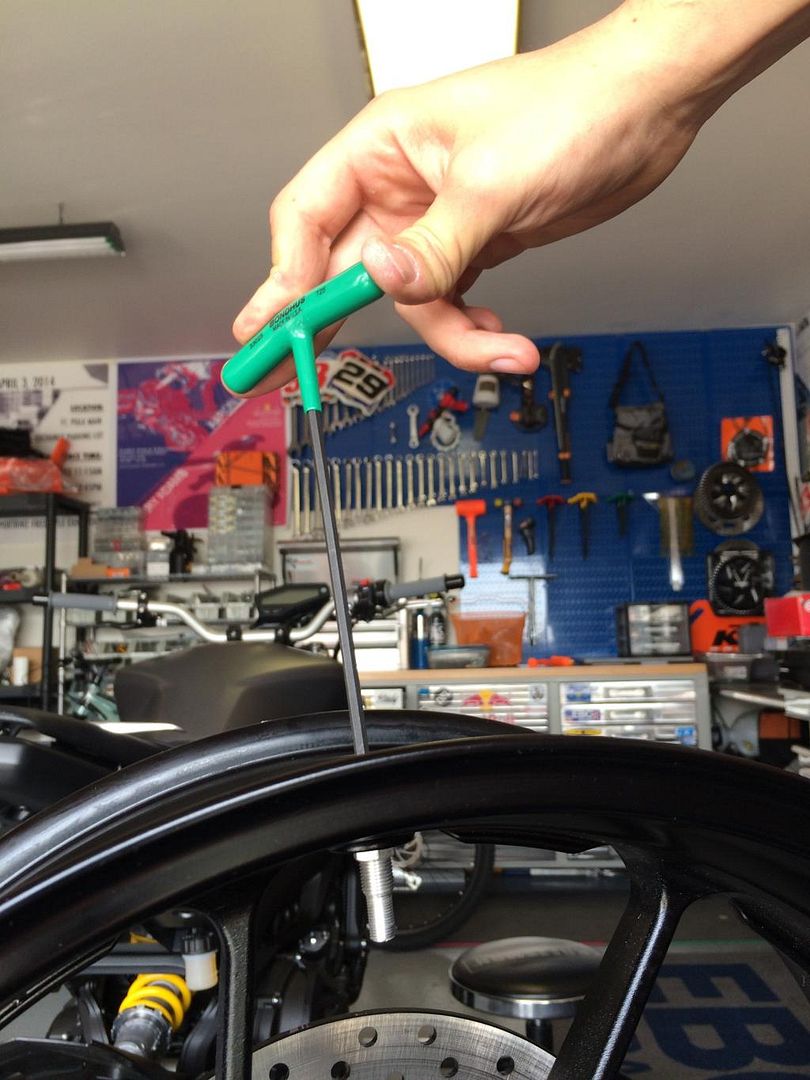
I grabbed a new Bridgestone R10 to mount up but realized that I don't own a 14mm allen socket. Improvisation set in and I made my own out of an old F4i subframe bolt.


While the front wheel was off this little guy decided to jump on the fork.

 
#145 ·
aaron, RE the tip over sensor.
Mckenna has a factory yamaha one just plugs in. im surprised that you didnt get that, then again im not sure if yamaha gave you the bike or if you are perusing it ot of your own cash.