
I thought it would be worthwhile to start a shock conversion thread outlining the different options available, the cost, what is involved in the conversion, benefits, what to look out for, and any feeback on compression/rebound/pre-load adjustments. So, with that said, if anyone has a conversion to share this is the place to do it!
This first post will be reserved for my 2006 Kawasaki ZX6RR Conversion.
Shock Option: 2005-2006 Kawasaki ZX6RR
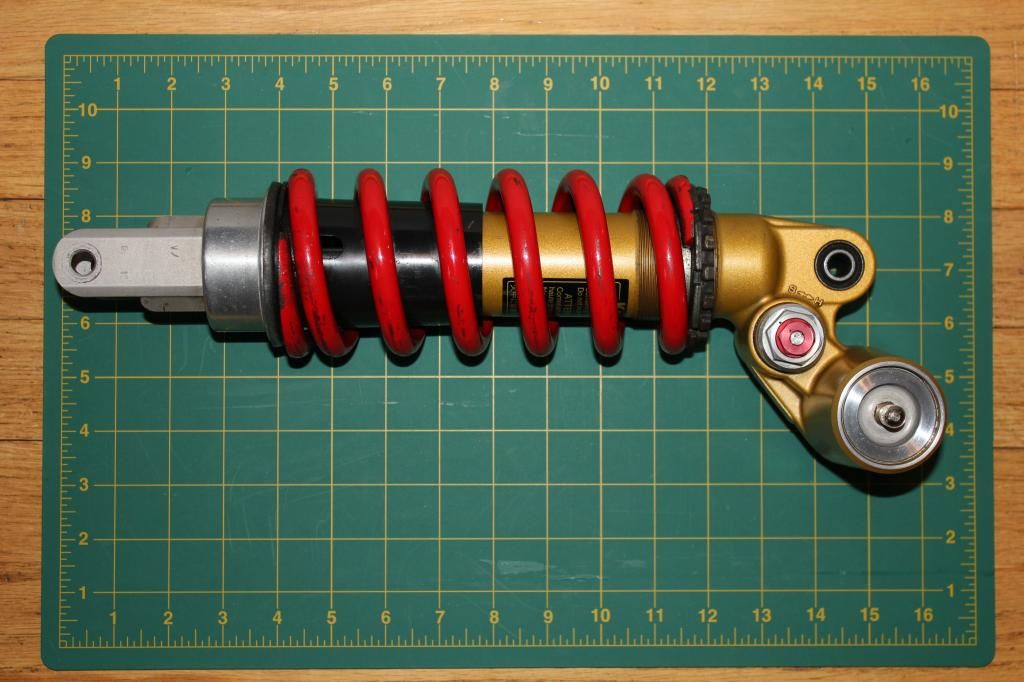
Un-Mounted Photos
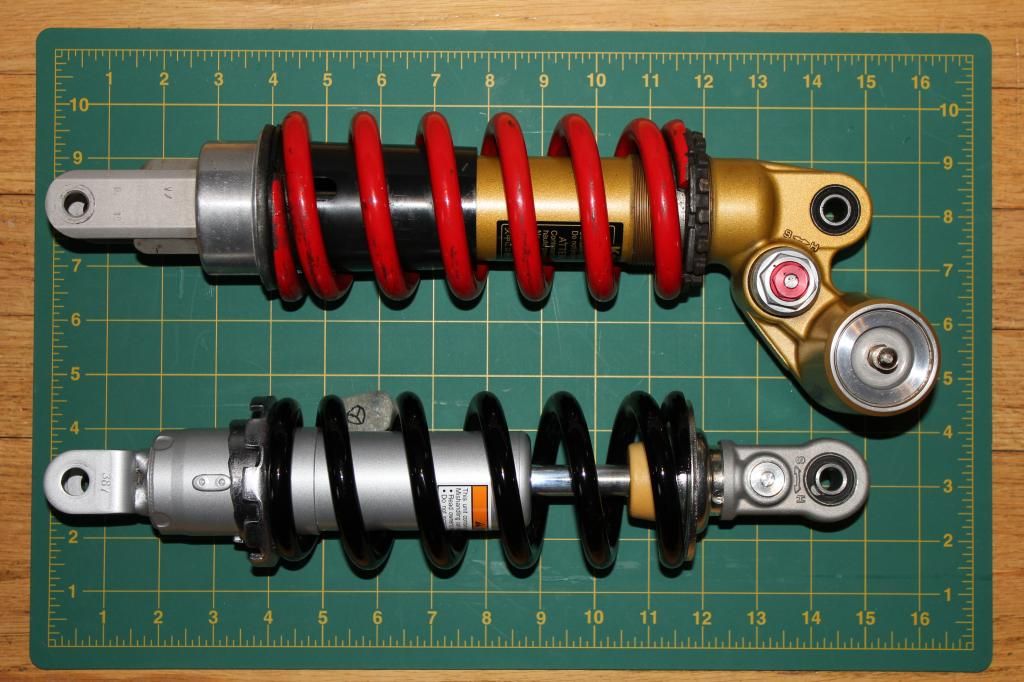
Comparison to Stock Shock
Mounted Photos
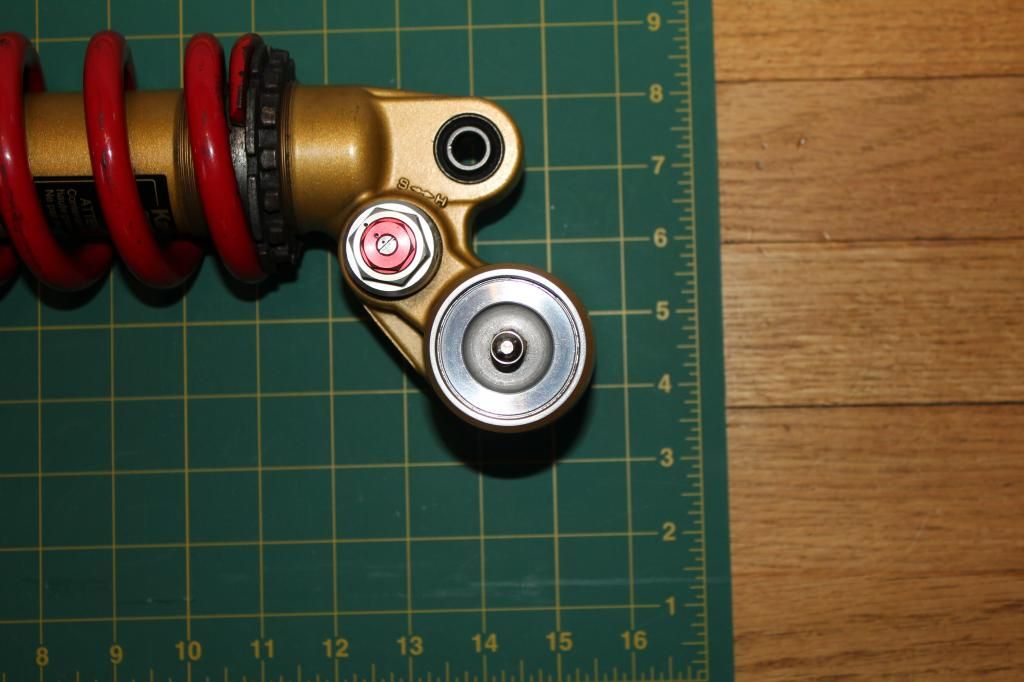
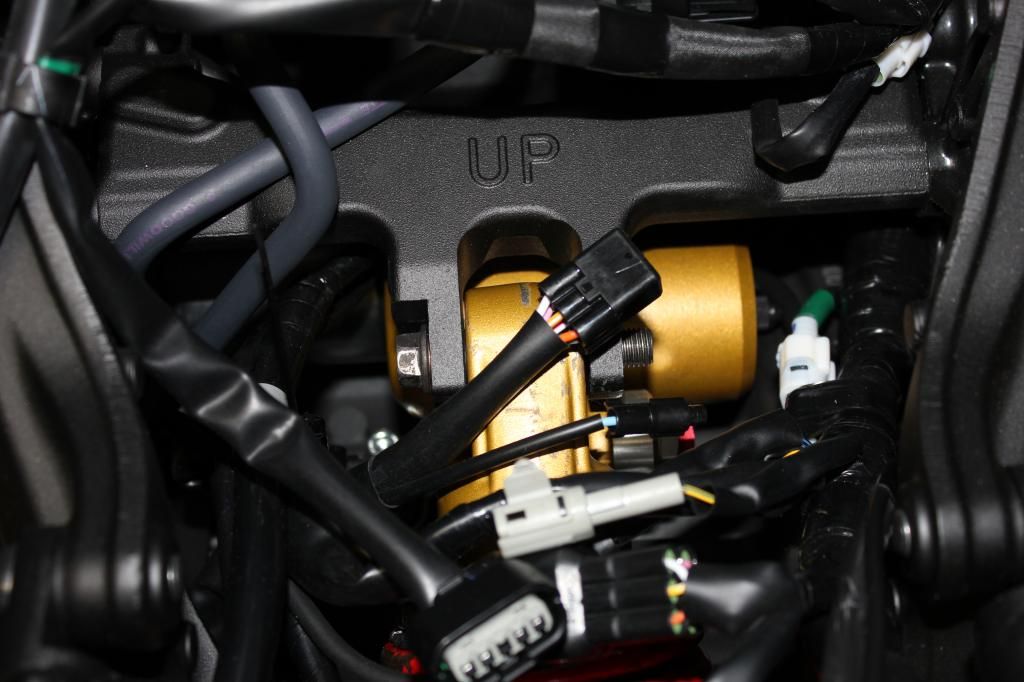
Reservoir Position:
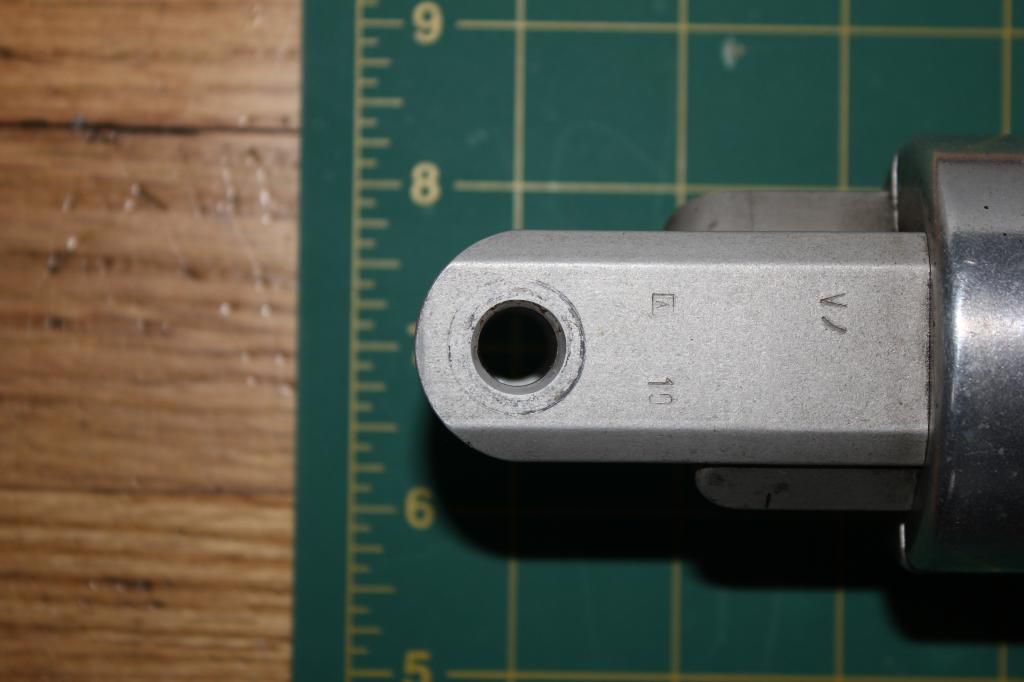
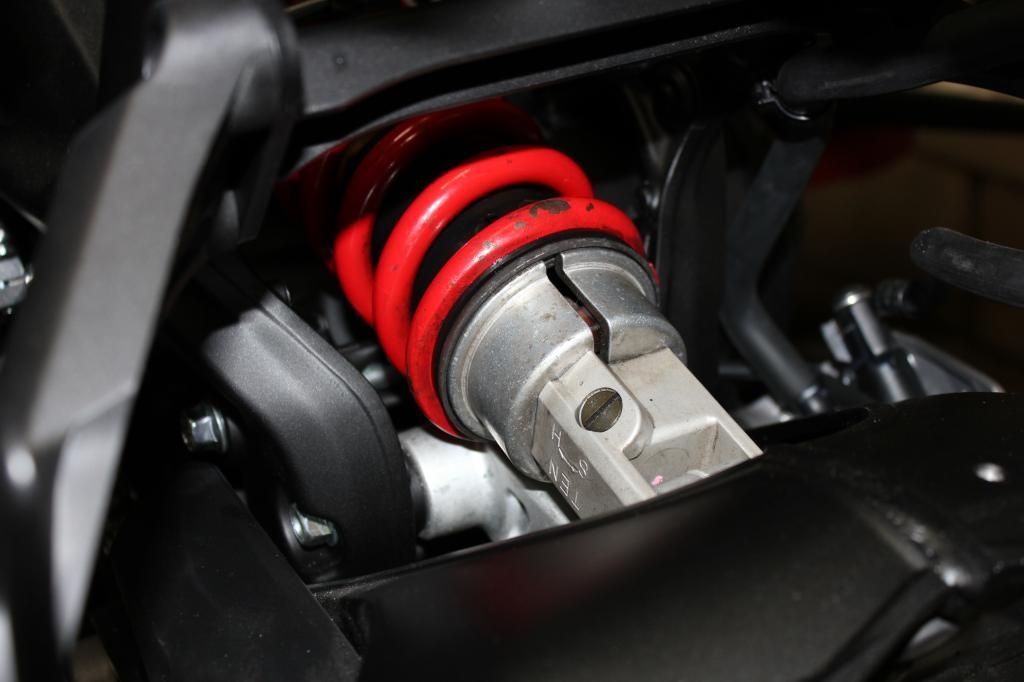
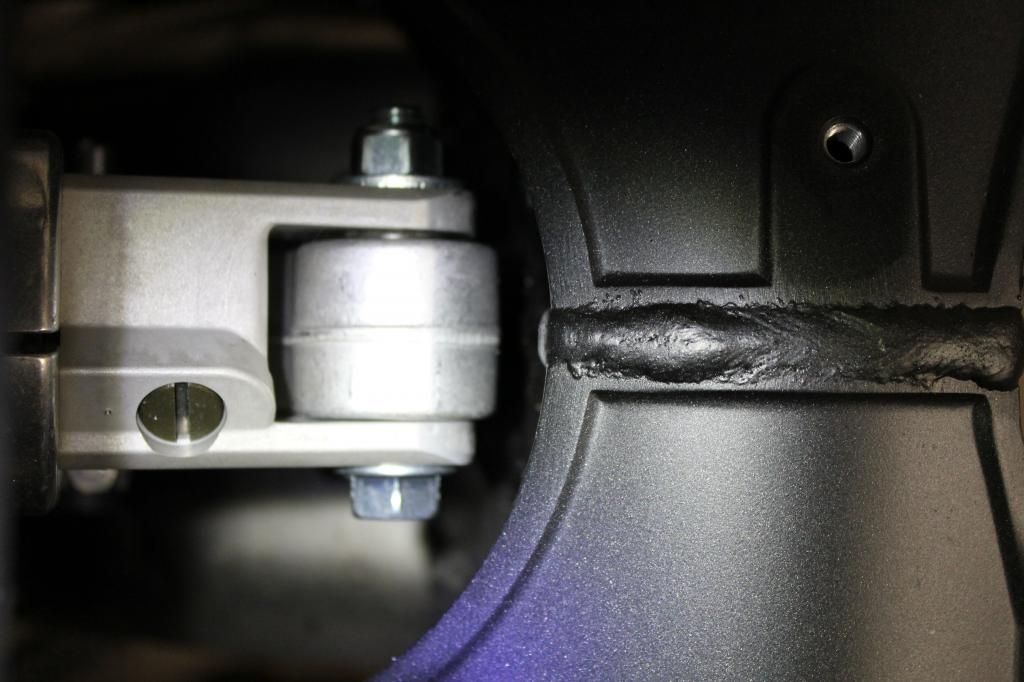
Lower Mount 1:
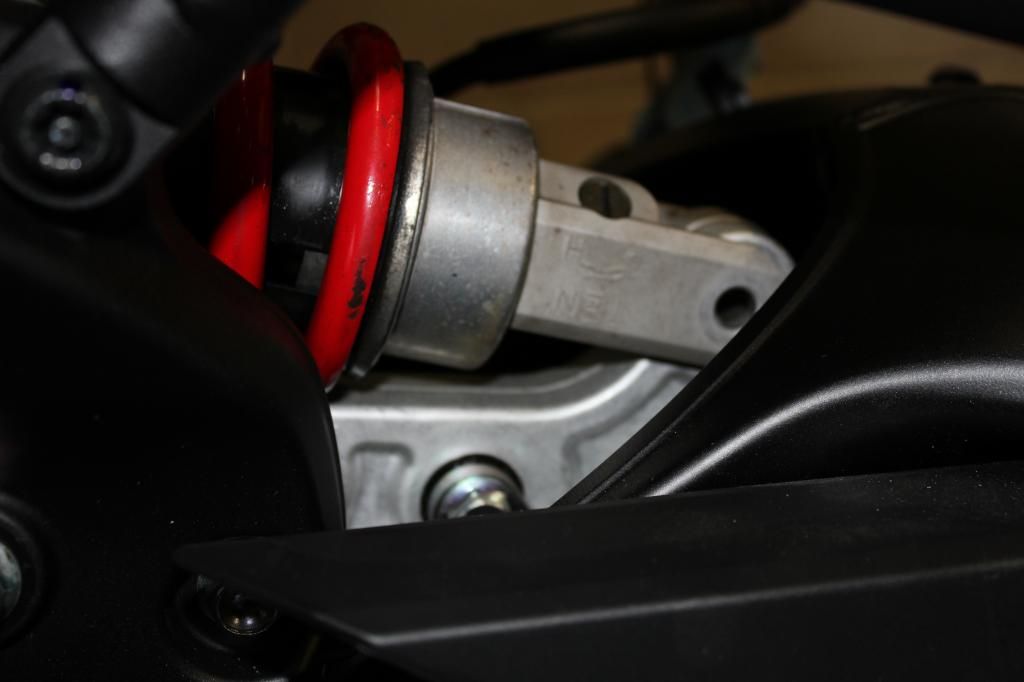
Lower Mount 2:
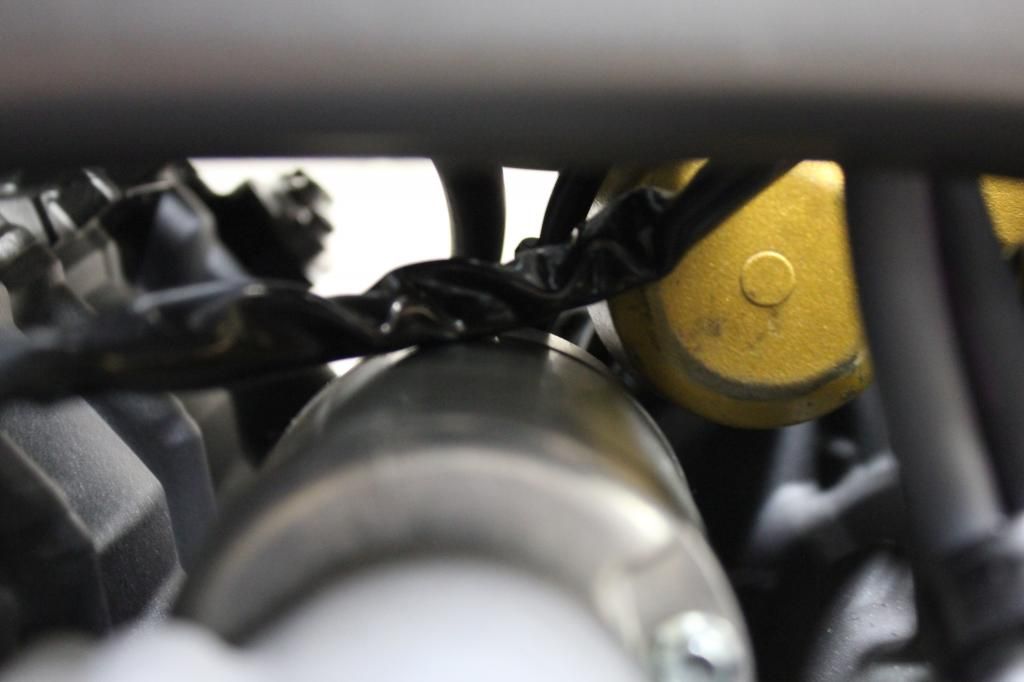
Reservoir Clearance to Starter:
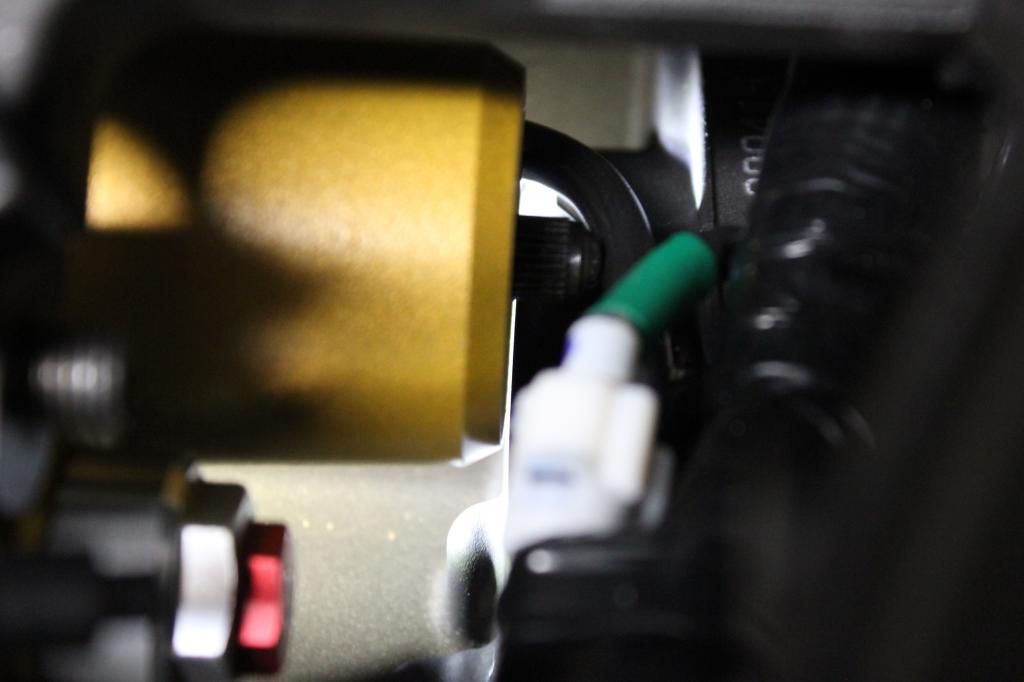
Reservoir Clearance to Engine (Unmodified):
 \
\
-Continued on next thread-
This first post will be reserved for my 2006 Kawasaki ZX6RR Conversion.
Shock Option: 2005-2006 Kawasaki ZX6RR
Spring Rate: 10.3 kg/mm [575 lb/in]
Adjustability: Preload, Stepless Rebound Dampening, High-Speed & Low-Speed Compression Dampening
Eye-to-eye Length: 330mm [13"] (Identical to stock)
Upper Mount Width: 30mm [1-3/16"] (Identical to stock)
Upper Mount Hole Diameter: Ø10mm [Ø3/8"] (Identical to stock)
Lower Mount Width: 30mm [1-3/16"] (Identical to stock)
Lower Mount Hole Diameter: Ø10mm [Ø3/8"] (Stock = 12mm)
Cost: $36.00 w/Shipping (Purchased on ebay)
Un-Mounted Photos


Comparison to Stock Shock

Mounted Photos
Reservoir Position:

Lower Mount 1:

Lower Mount 2:

Reservoir Clearance to Starter:

Reservoir Clearance to Engine (Unmodified):
 \
\-Continued on next thread-


")


